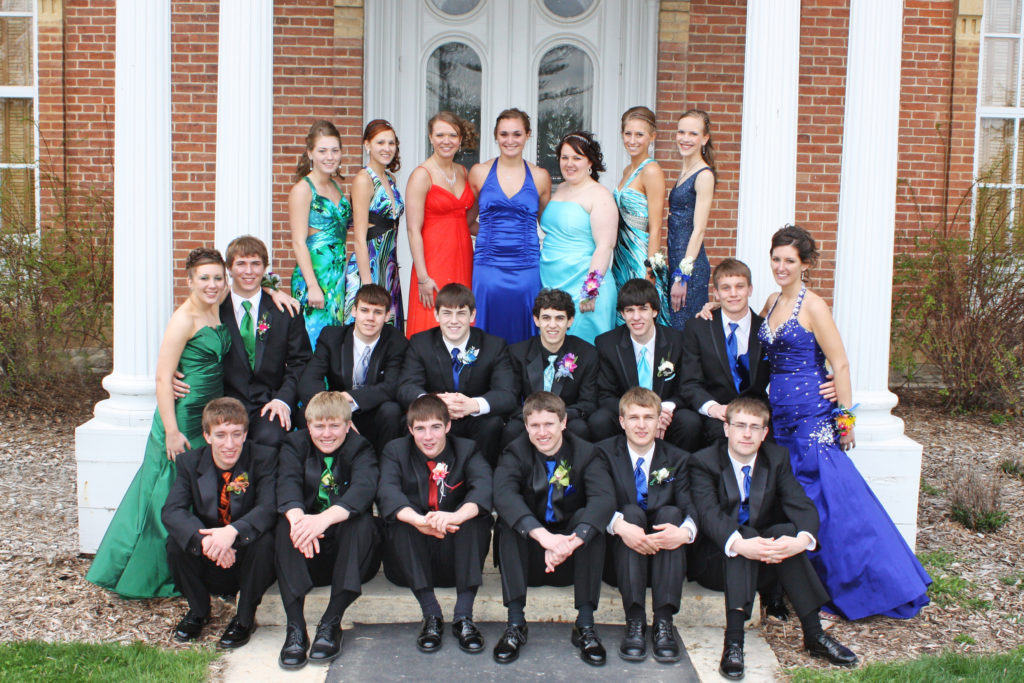
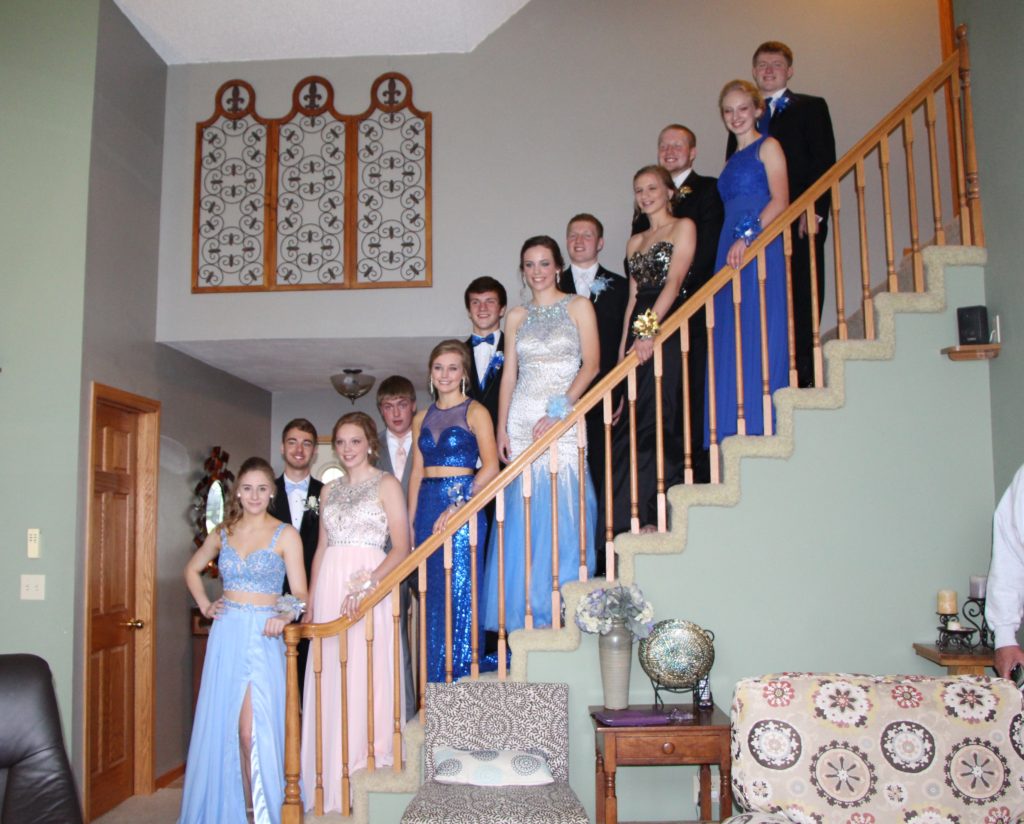
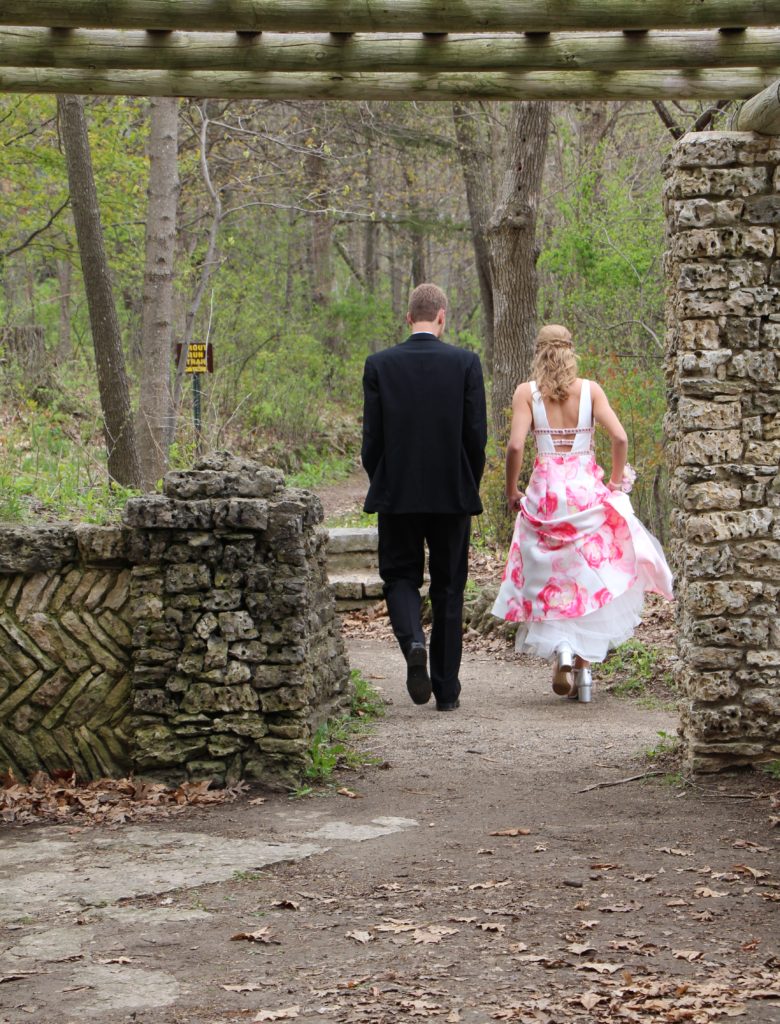
 It is that time of the year when the high schools are celebrating prom! There is a lot of planning and preparation involvement by many to make this day a success for our young people. Quite often this may include altering the girl’s dress. Last week on my Facebook page I posted a photo of Gene Anne’s hem of her dress that I was working on. It just needed to be taken up a bit because, who wants to worry about catching the dress on your shoes when walking, and no one wants to trip and fall!
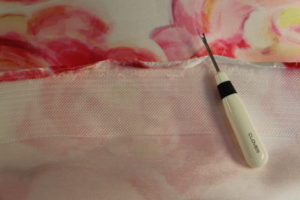
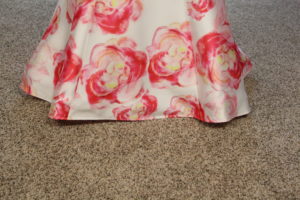 It is a relatively easy alteration. On Gene Anne’s dress the photo shows she has a 2 inch piece of plastic stabilizer on the inside of the entire hem. The purpose of this is to retain the flare at the hemline. Using a seam ripper, I took out the stitching being careful to not tear the fabric. I simply rolled the existing seam allowance up two more times, only in the front and then machine stitched it back in place using the walking foot on my sewing machine. I increase the stitch length for clothing and decrease it for quilt piecing. As you can see in the next photo this simple hemming makes a big difference and no worries of tripping!
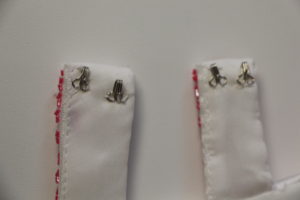
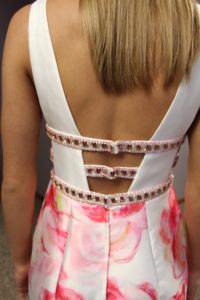
Another typical problem area on most gowns are the hook and eye closures, usually they need a little reinforcement because this can be a concern if the thread tears and the back strap of your dress has a malfunction! No one wants to spend their day/night with a safety pin holding their dress together. A few simple stiches with a needle and button or quilting thread works very nicely.
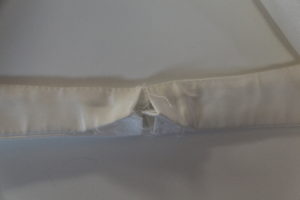
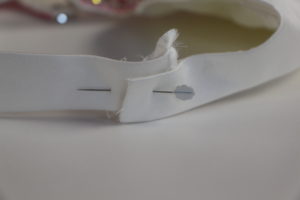
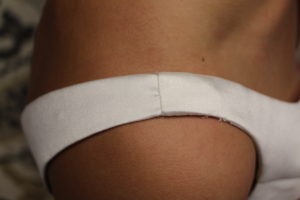
In the next three photos you can see I worked on the shoulder seam. First I carefully opened up the seam, then I placed one strap into the other strap to shorten it, I went back strap into front and simply basted across the top. After she tried it on and it was determined this was a better fit, I stitched across the top again and using a blind stitch by hand, secured the side seams. Once again this turns out well, as we can’t even tell this was altered. This alteration was done to shorten the bodice of the dress without bringing it to close to the armpit, where it could possibly cause irritation.
In our area the ladies wear a garter for prom, sometimes at the dance the garter is worn on the dates arm. In our home we have always made the garters and not purchased them. A garter is simple and fun to make because you can choose the fabric, lace, ribbon and other bling to make it personalized. Gene Anne chose a simple style this year. The bottom is a sheer white ribbon, a strip of white lace is placed on top and using the walking foot again on the sewing machine, the 2 layers are stitched together with 1/2 inch open in the center. Next 1/4 inch white elastic is pulled through this, we use a safety pin. After this the size is determined and we sew it together, folding the ends under for a finished seam. She picked out a pale pink grosgrain ribbon and found a jewel she liked for the center of the bow we made. Both of these are stitched to the garter by hand using a sewing needle and button thread. We both think it turned out super cute!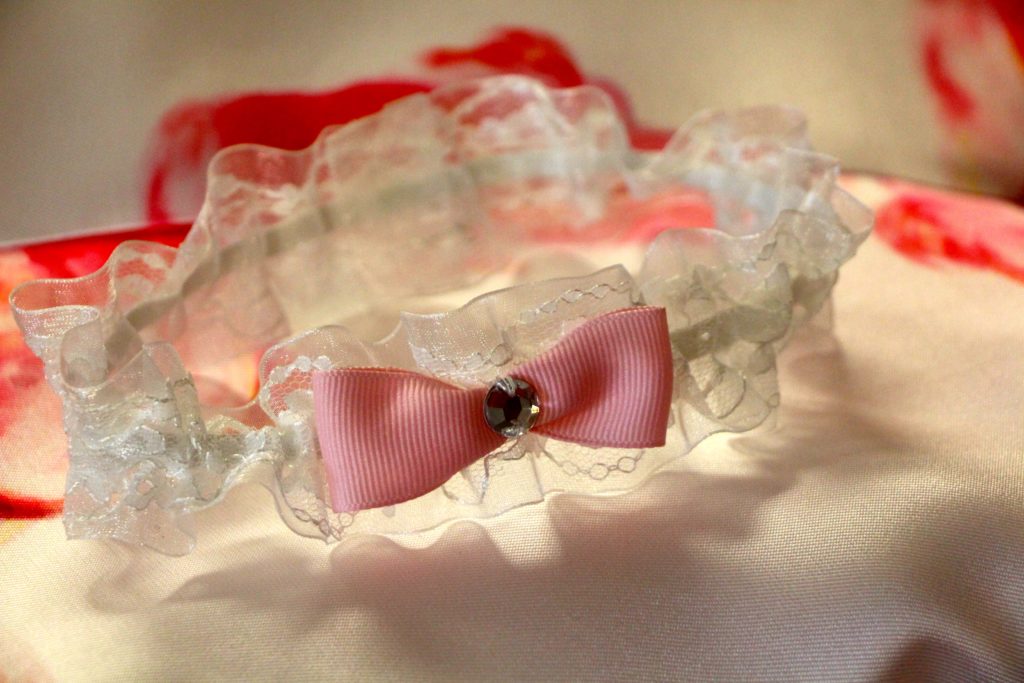
By the morning of prom, all alterations were complete and a final pressing was done. The boutonnière and wrist corsage were picked up the day before. She did her own manicure and pedicure the night before and in the morning she did her makeup and visited the salon to have her hair done. As expected her boyfriend arrived at 10:50 a.m. and their prom day and the memories began.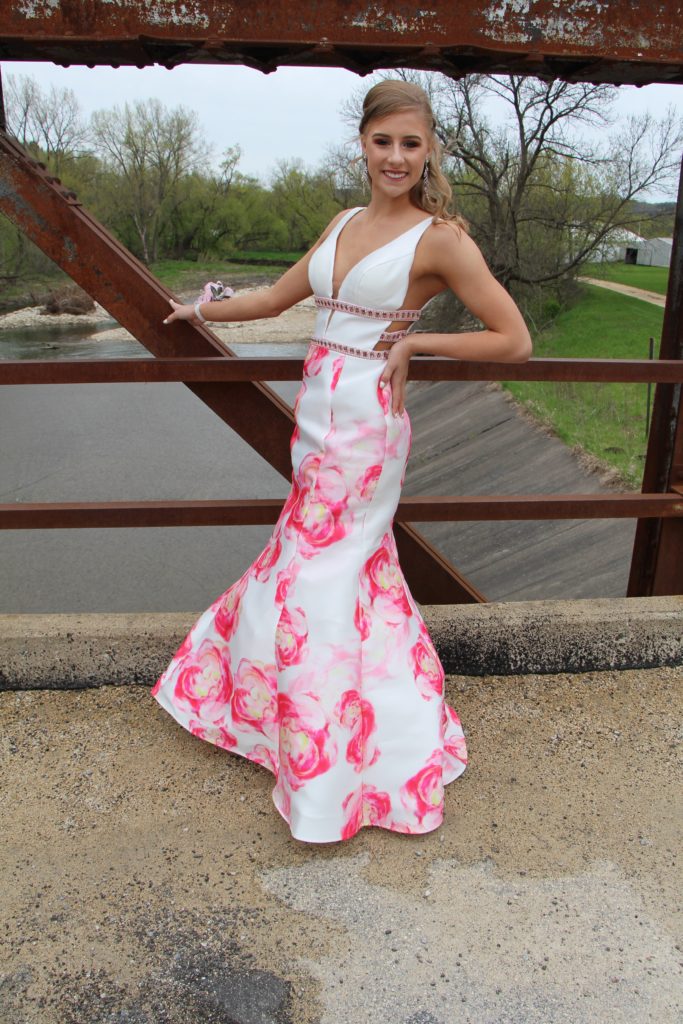

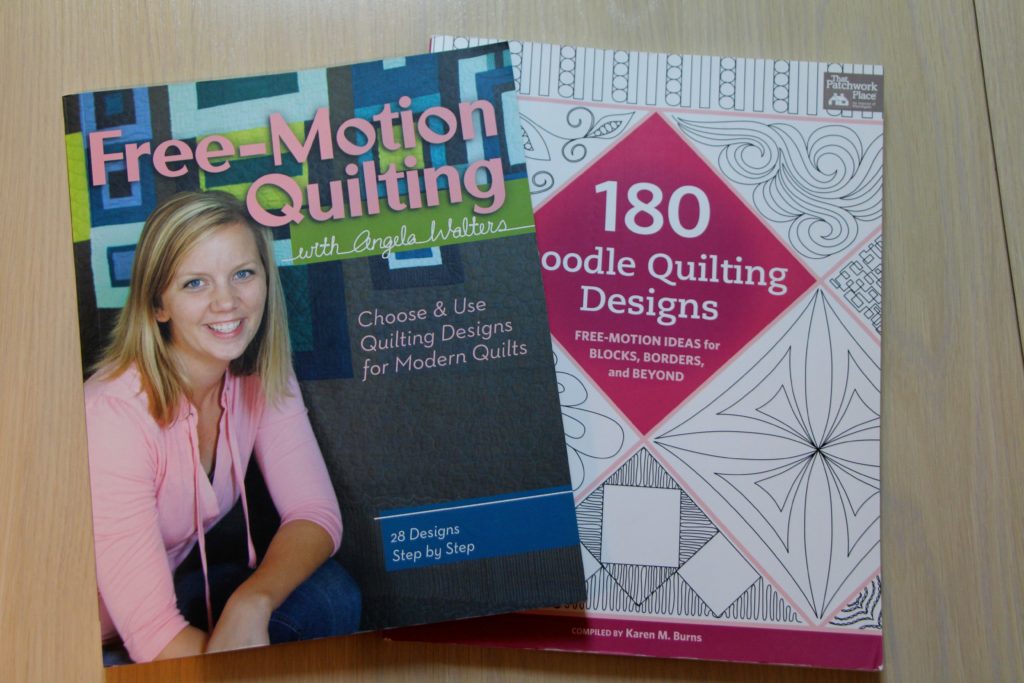
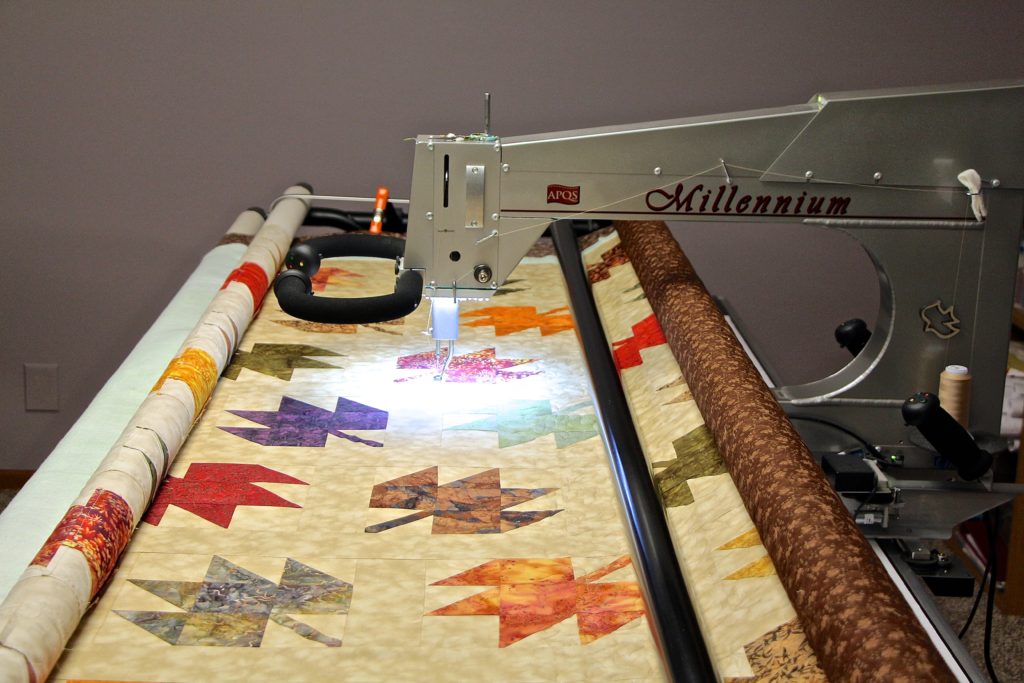
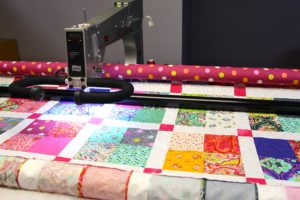
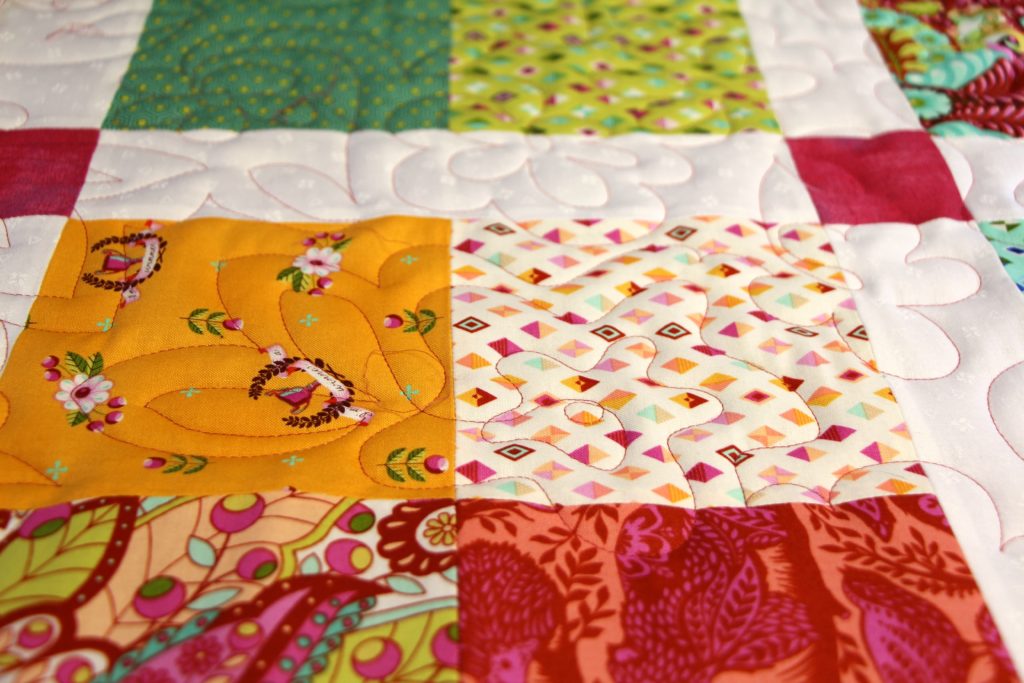
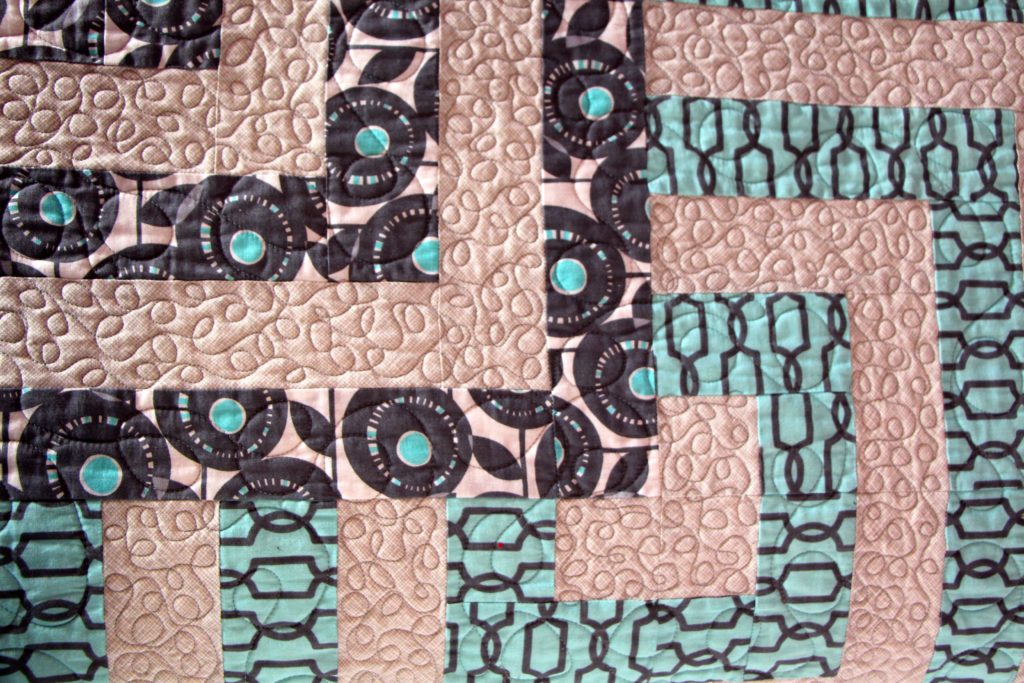
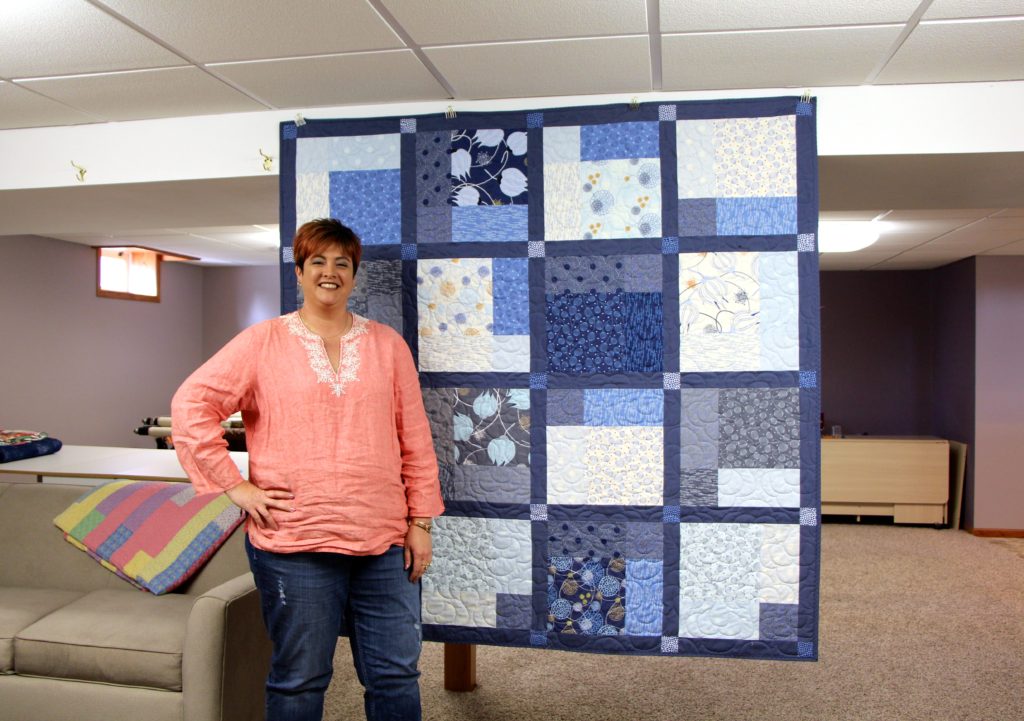
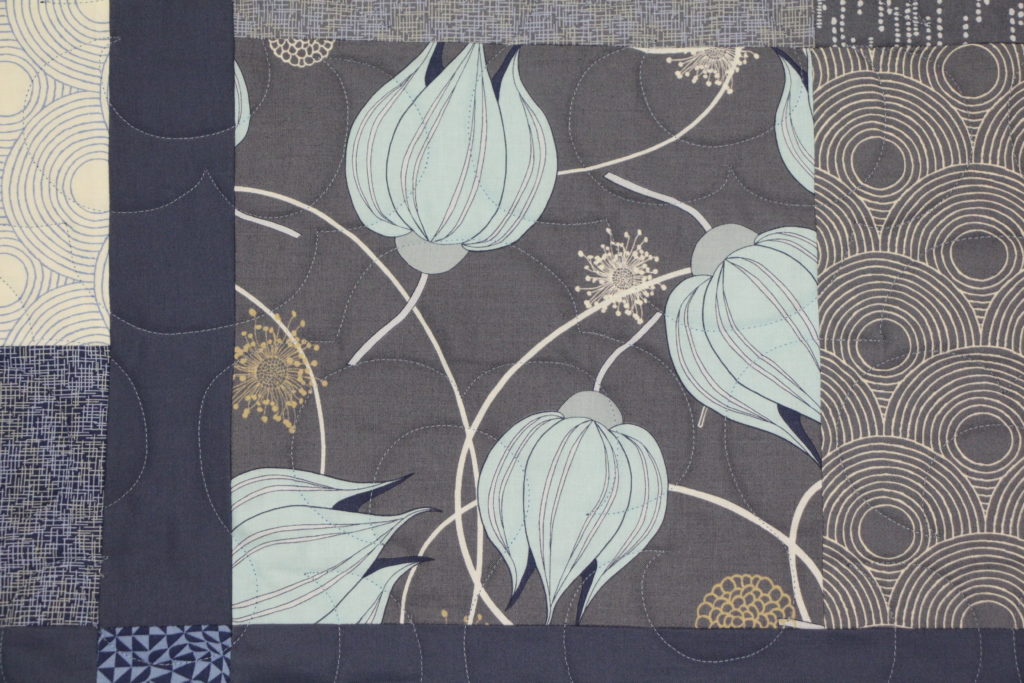
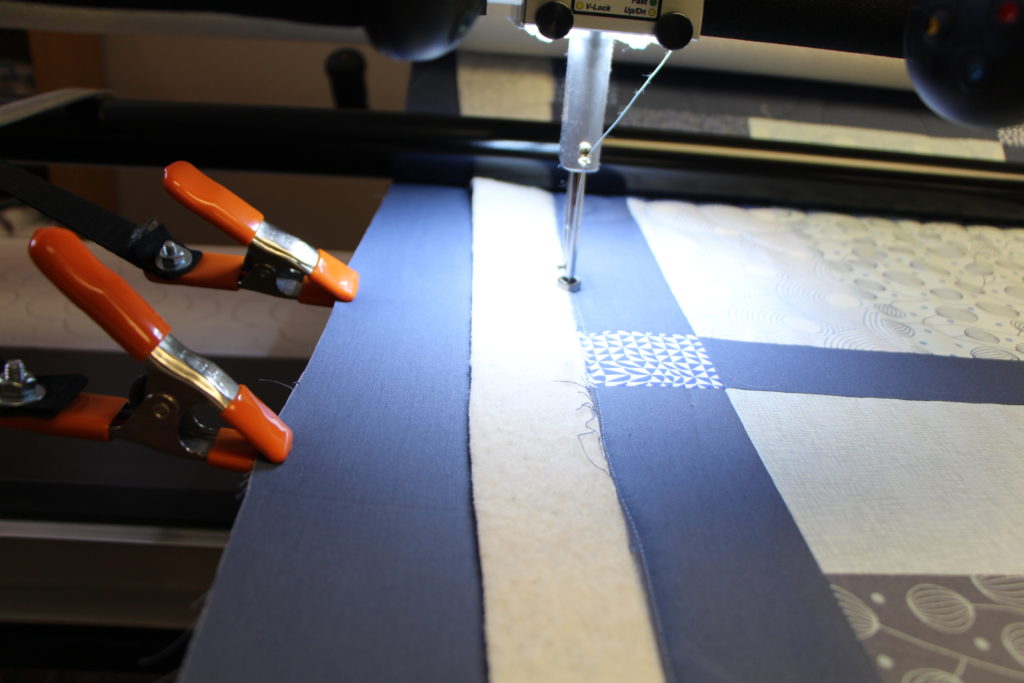
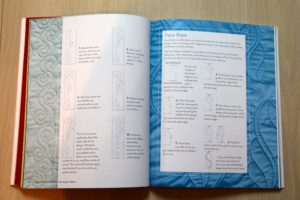 Recently I have been referring to these two quilting design books as I am offering some modern designs as options to my customers. Free Motion Quilting with Angela Walters has been a great resource book. It literally is a step-by-step manual for us longarm quilters. There is usually 3-10 steps for each pattern, which is color coded and labeled where to start, where to end and how to get there without getting stuck in corner! She makes the complicated designs look simple and from there, you can combine these steps with others to incorporate 3 patterns in to one! Some of my favorites are the Swirl Scroll, Back and Forth and Double Loop.
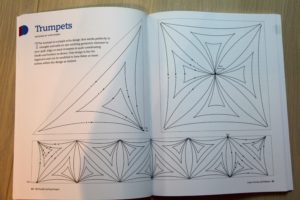 In the 180 Doodle Quilting Designs by Karen M. Burns, my take on this is, if you can draw it, I can quilt it! This book also has great instructions on where to start quilting in the block, where to go next and how to end. You see, as longarm quilters we like to have continuous stitching, not a lot of stopping, securing the thread and then starting again. I like to have a nice flow of stitching in my quilts, when possible.
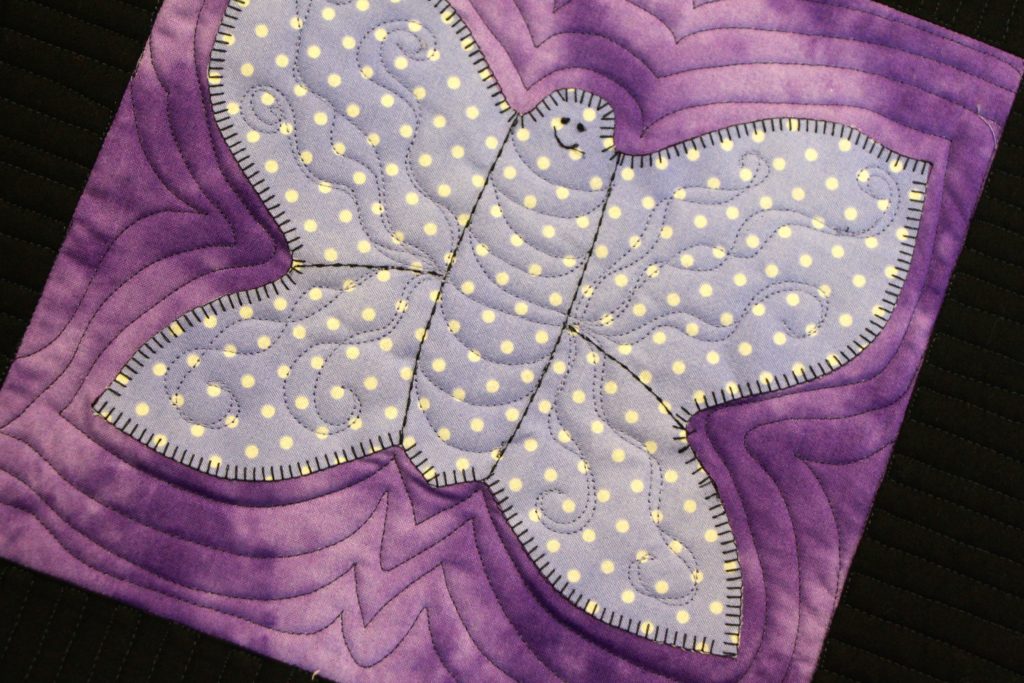
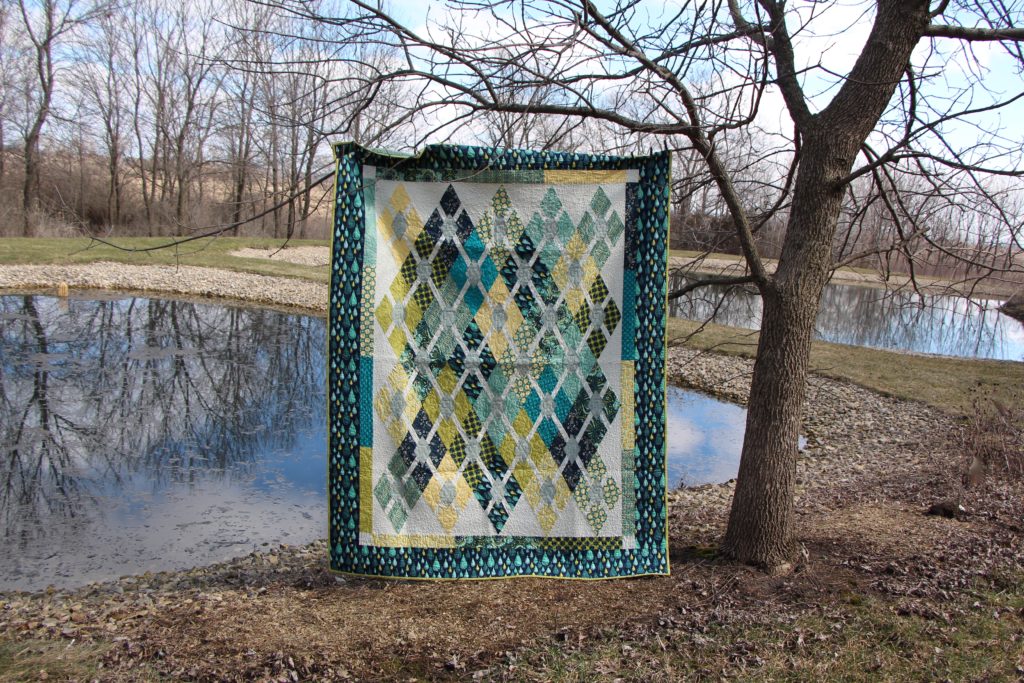
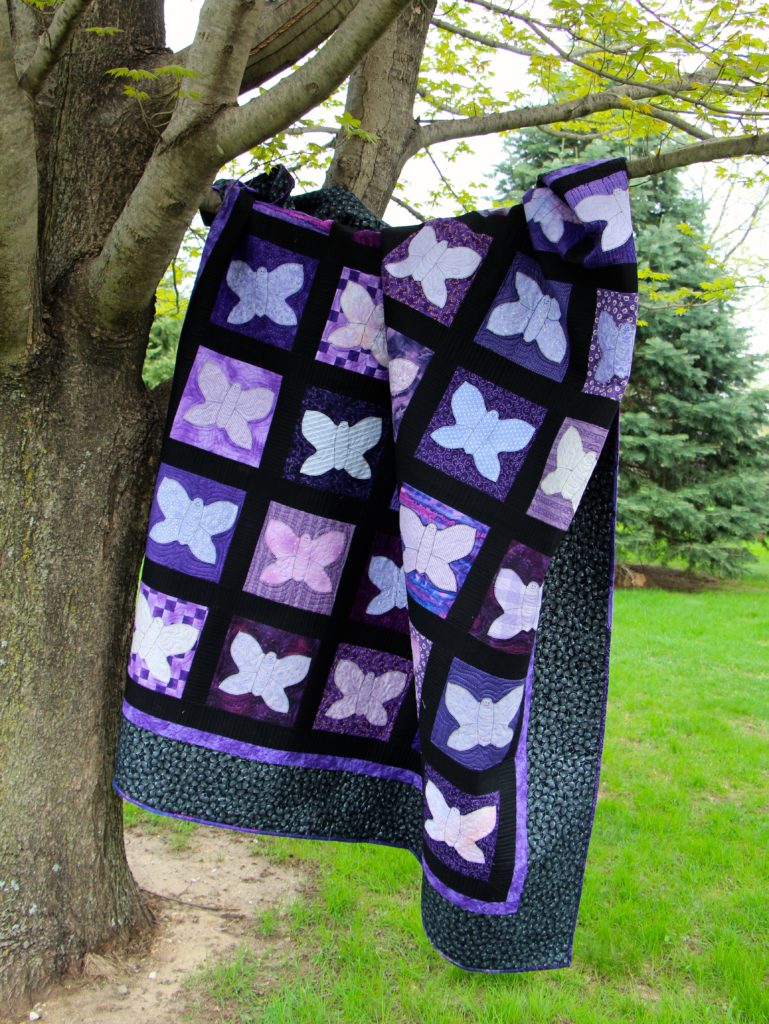
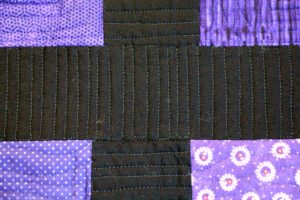 So within the block you can see I also used and echoing design, which is simply outlining, and it complemented the appliquéd butterfly. For the wings, just a simple ribbon stitch because I felt that added a sense of movement. The outside border is quilted with the double loop design, but because of fabric and thread choice, you cannot see it, along with any mistakes, there may be! Some of you may ask, “How did you come up with that design?. Have you ever heard the saying, the quilt speaks to me, yes that is true, in relative terms. The designs just some how come to mind.