In my last blog I talked about making a tie fleece blanket and used Gene Anne’s from 2009 as an example, well here is another option for a fleece blanket! 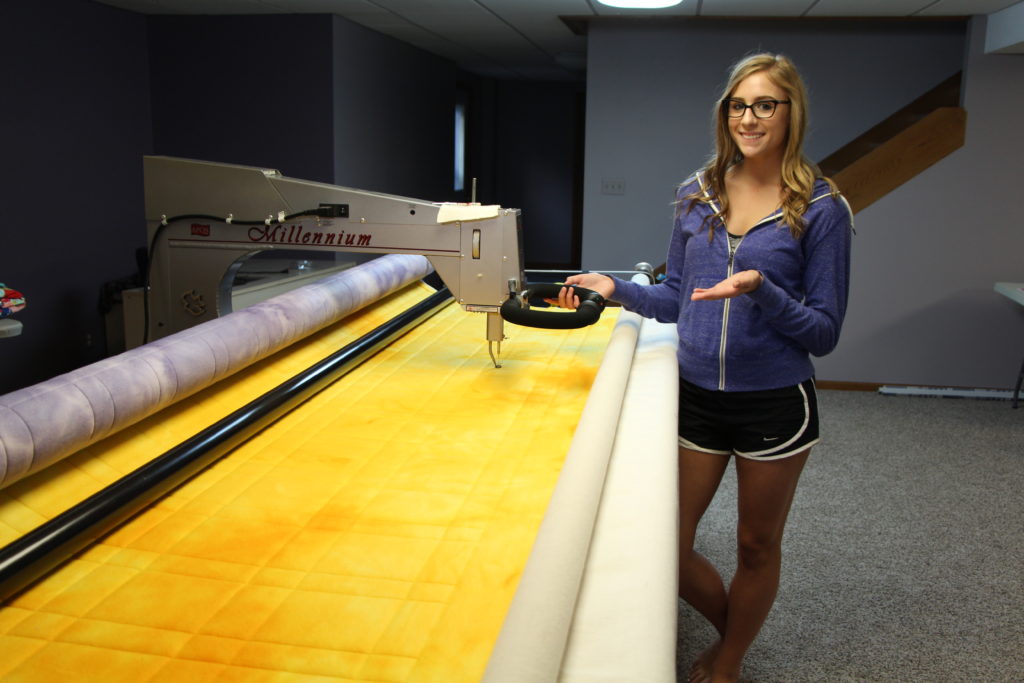
Gene Anne’s boyfriend, Spencer graduated from high school last month and back in April she told me she would like to make him a tie fleece blanket for a graduation gift. It is my understanding that this is a popular gift for the college bound kids if you are not a quilter. As many of you know, to make large quilt is a commitment of time and money so I agreed with her, this would be a nice gift for him. If you remember from my last blog, I am not a fan of the tie fleece blankets, so I thought, why can’t we load the fleece fabric onto the longarm frame, with batting in-between the layers and quilt it, I think that would work and be a nice gift! The stitching will keep it secure and the edges she could cut and have a fringe edging. I ran the idea past Gene Anne and she thought too, this would work!
The first step in this process was to find fleece. He will be attending the University of Northern Iowa in Cedar Falls and their logo is the panthers. This seemed easy enough as she wanted the logo fabric on one side and a matching purple fleece on the other. Many colleges and sports teams offer their logo fabric, in store and online. We were having much difficulty finding the UNI Panther fleece online and after a call to a local Joann’s fabric store I was told that UNI does not give out licensing for their logo and I will not find UNI fleece anywhere. She suggested a purple and gold plaid fleece with a solid backing. This was quite disheartening for Gene Anne but she was ok with looking for a plaid fleece to use.
We checked out many sites online and she really did not find an option that would work, and if you buy fleece online, how can you tell if the front and the back will be in the same color family? About this time, we attended a graduation party in Mason City, Ia where a Joann’s was located. It was a huge store in my opinion with approximately 450 bolts of fleece,(I forgot to take a photo) I had no idea there were so many options, I was overwhelmed! So once again here, no purple and gold plaid. She decided on a faint tye-dye pattern of purple for one side and gold for the other.
We purchased 2 – 96 inch cuts that are 60 inches wide, now I know most of you are asking, why would she need 8 feet of fleece? Well, can you guess why, this is a tall guy, about 6’5″. How many of you have experienced trying to cover up with a quilt that is too short, not fun! So she wanted to make sure this blanket was long enough.
She quickly sketched out how she wanted the quilting pattern to be done, remember, she was looking for plaid fabric and since we could not find that, a plaid quilting design was a good option. Taking the dimensions of the blanket into consideration along with how far apart the lines should be, she came up with a plan for quilting. I know it probably just looks like chicken scratches to many of you, but it was enough to give her a visual plan. 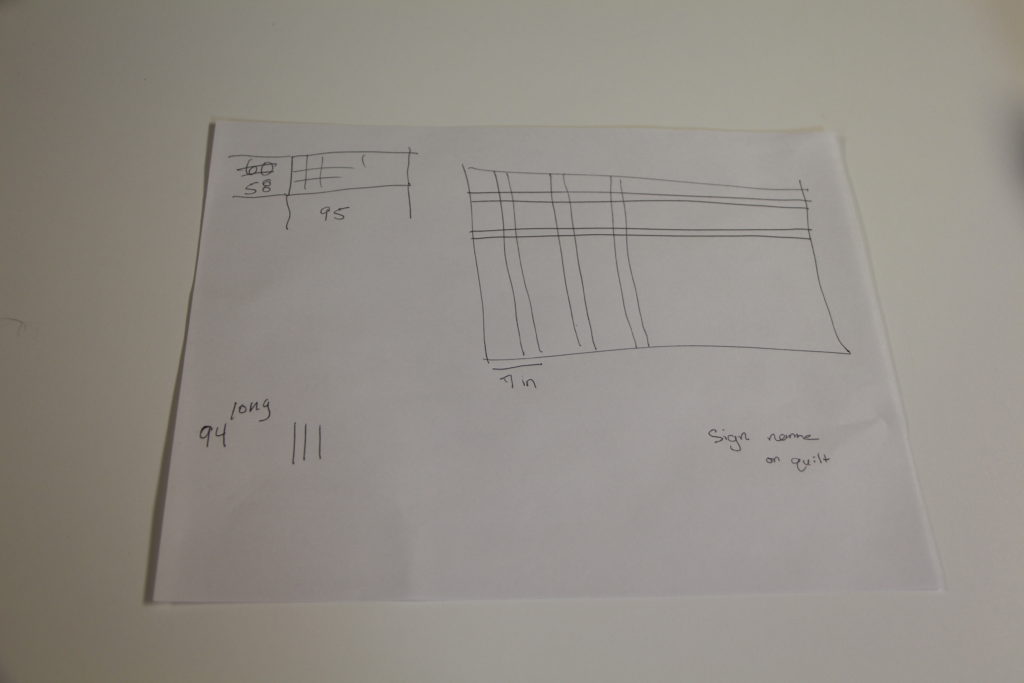
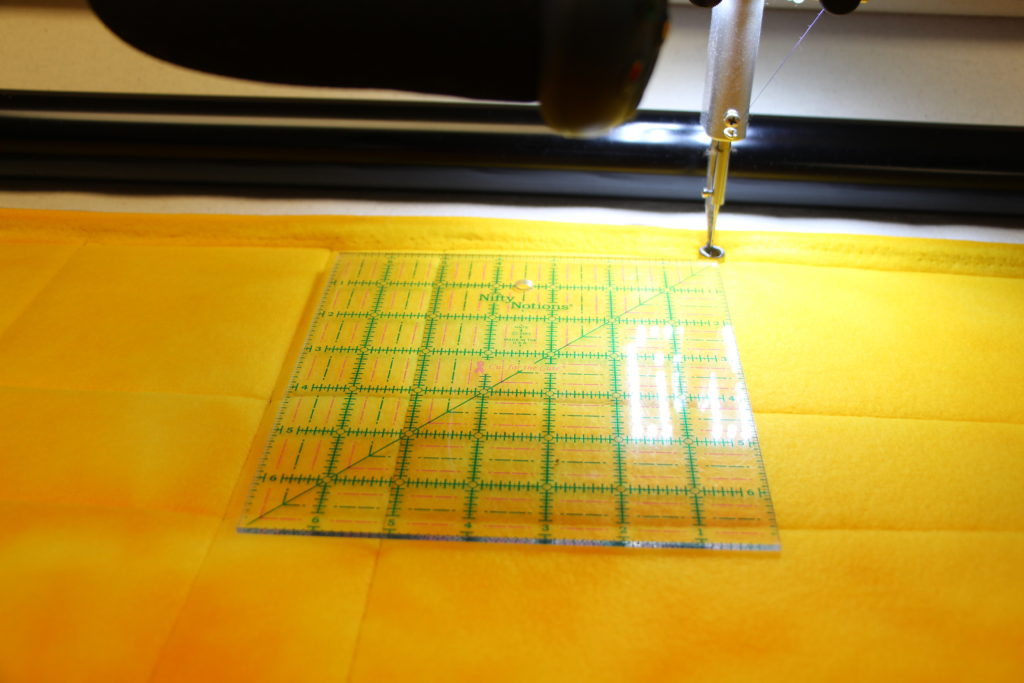
I helped Gene Anne load the quilt the long way as we quilters call it, doing it this way means you advance the quilt less, good time management. Next the batting was laid in place and then all 3 layers were secured across the top. After this, using the horizontal channel on the longarm, she started with the lines that run parallel to the frame, for spacing she used a 7 inch square ruler as a guide, I think she did a 2 inch and a 5 inch spacing pattern for her desired quilting pattern. After this she used the vertical channel lock on the machine to complete the pattern. These simple options gives the quilter the ability to quilt perfectly straight lines, super easy! When an area was completed, she advanced the quilt to the next section.
In the top photo you can see she is very pleased with how the blanket is turning out. As she neared the end she signed her name.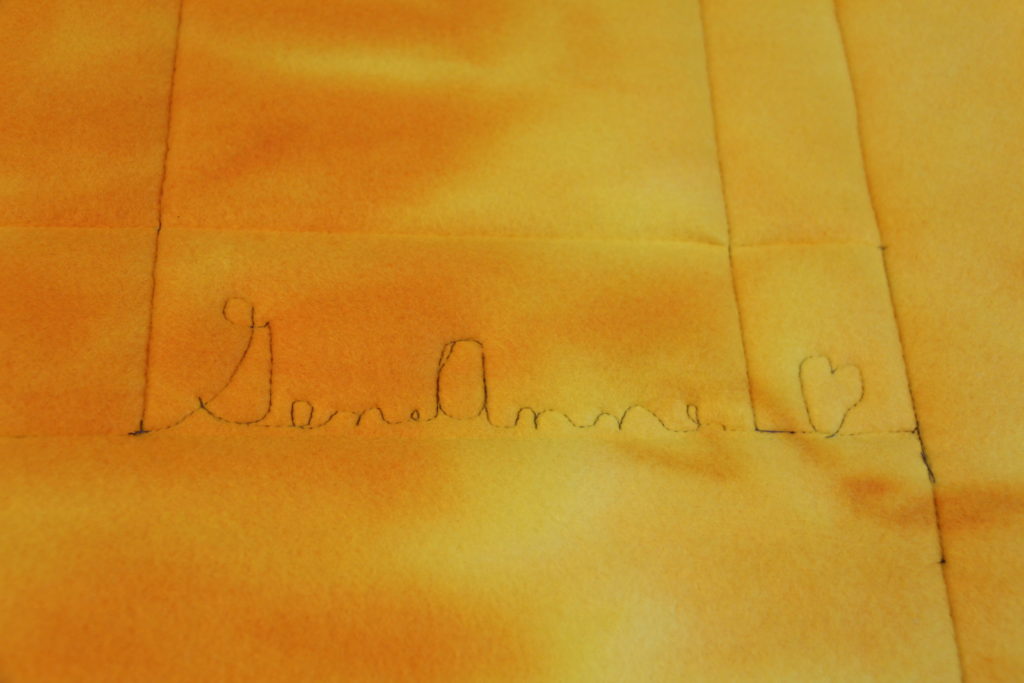
With the quilting complete, I helped her take it off the frame, I was surprised at how heavy it had become with the batting in-between the layers! I guess that will be a good thing for the possible chilly college apartment Spencer may be in.
As soon as it was off the frame she had to try it out, would it be cozy and comfortable? It would for sure be long enough for him.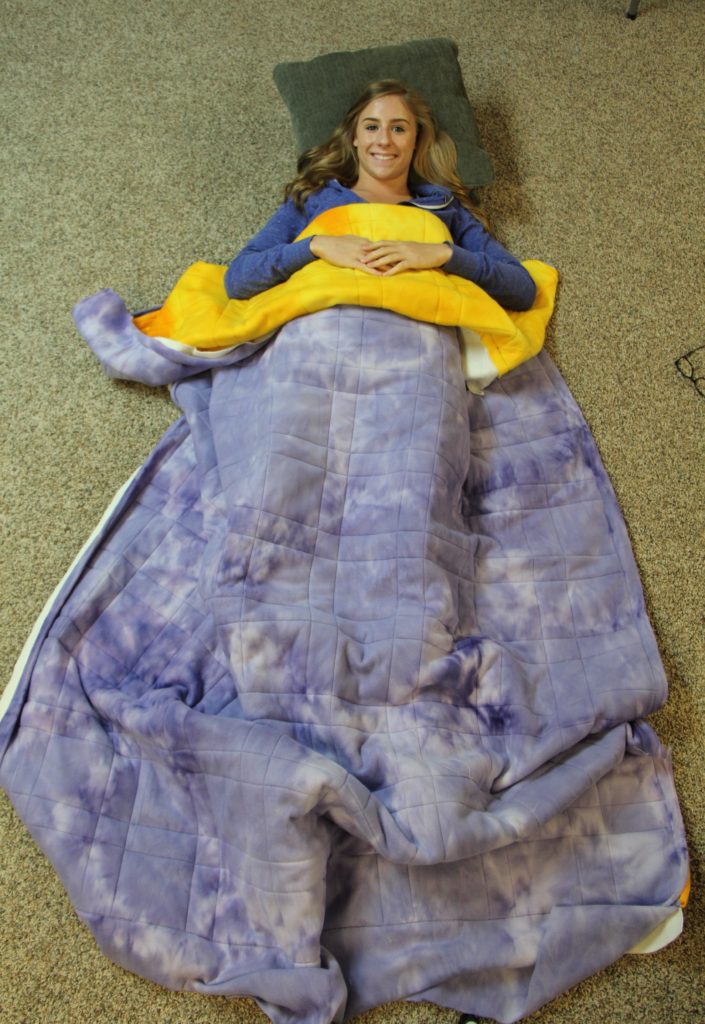
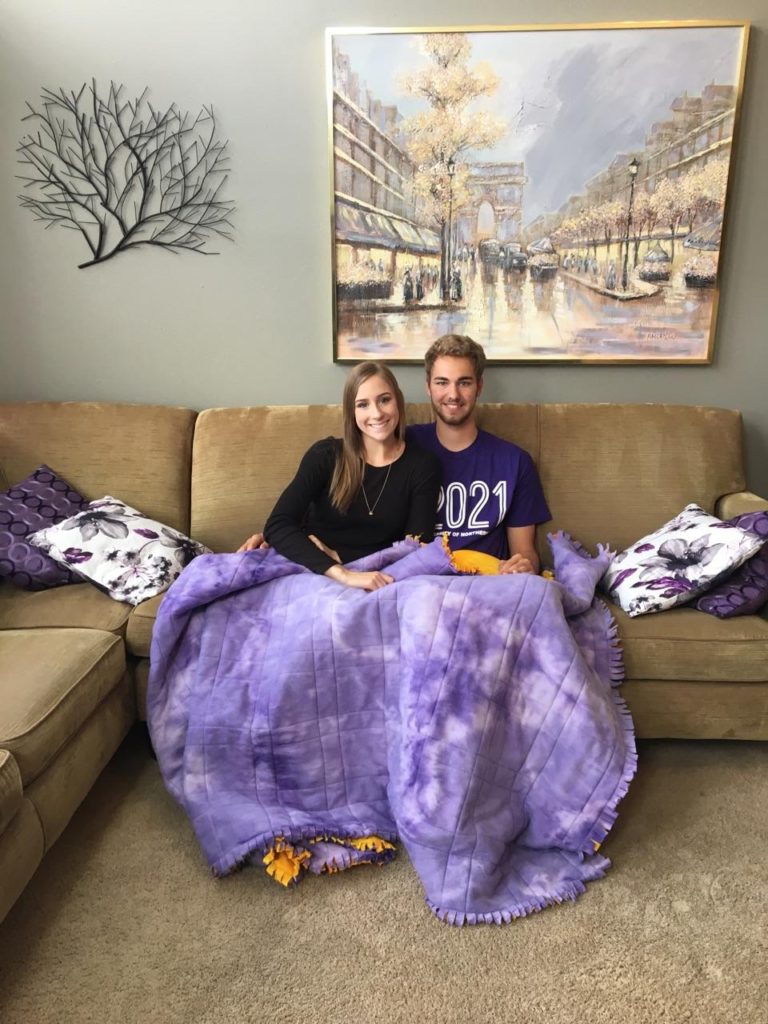
Next we trimmed the edges where needed to make it fairly even, if you remember from my last blog, fleece is forgiving, there will be no straight edge this one will have a fringed edge. For her last step, she is simply snipping the edge fleece that are about 1 1/2 inches into about 1 inch sections. She fluffed them as she went and it gave the fleece blanket a nice fringed edging.
This quilted fleece blanket has since been gifted to Spencer and we feel he will get a lot of use out of it when he is at college.
.
Tell me what you think about a quilted fleece blanket, has anyone else made one of these and how did it turn out? Happy Quilting!
 I was recently able to help out the Calmar Lutheran Church with a quilt for their beloved Pastor Phil and his wife Pastor Virginia “Ginny” Olson, who were retiring. My friend Lana contacted me about quilting it in a timely manner and of course I said yes. I was able to complete it in about a week and have it to their binder, so she could finish it.

 I recently returned from my first quilt retreat. Jo, from
 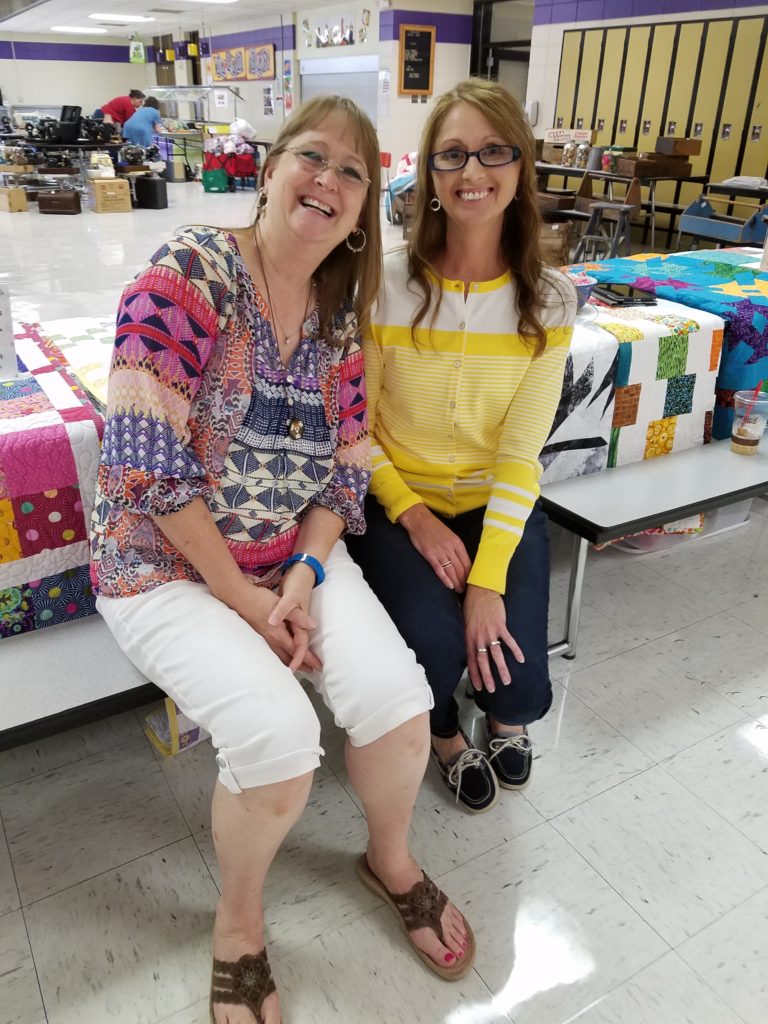 For those of you who have not heard of Bonnie Hunter, she is like a rockstar of quilting. She is known internationally and her retreats are booked out through 2019. Bonnie has a great backstory, is a down to earth gal and teaches quilters how to make beautiful quilts out of left over fabric, “scrap quilting”, you can check out her site
 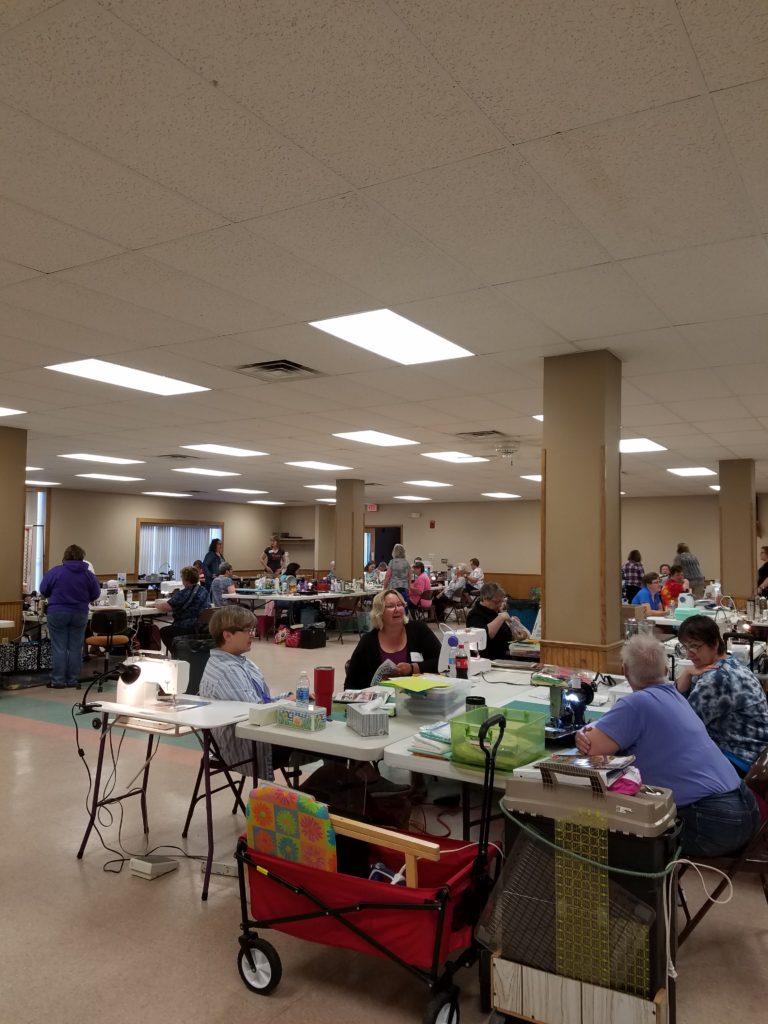 There are tables set up for the quilters. We bring our sewing machines and other supplies needed to sew, they provided irons, ironing boards and cutting supplies. Here is a photo of my area.
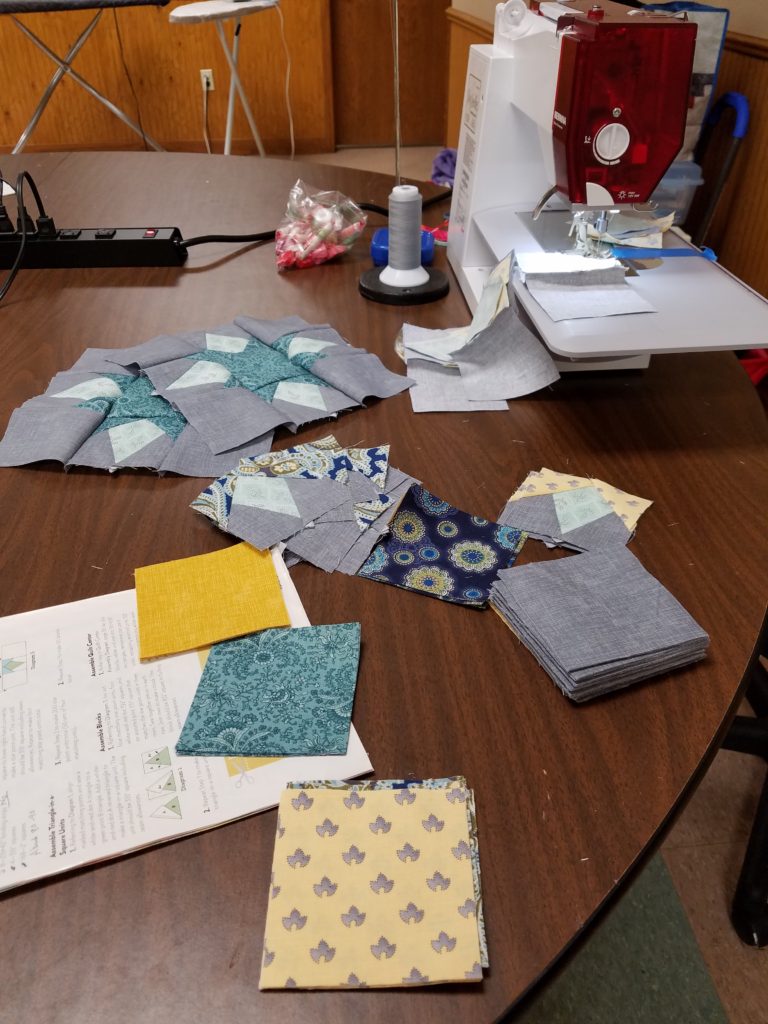 This may be hard to understand, but getting my sewing area situated was the hardest part of the day. I have only sewn at home, and if you have seen my photos you know I have a sewing table, a cutting table and my other sewing supplies set up in a large area. So sewing on a section of a table was challenging at first but after a while it worked out ok.
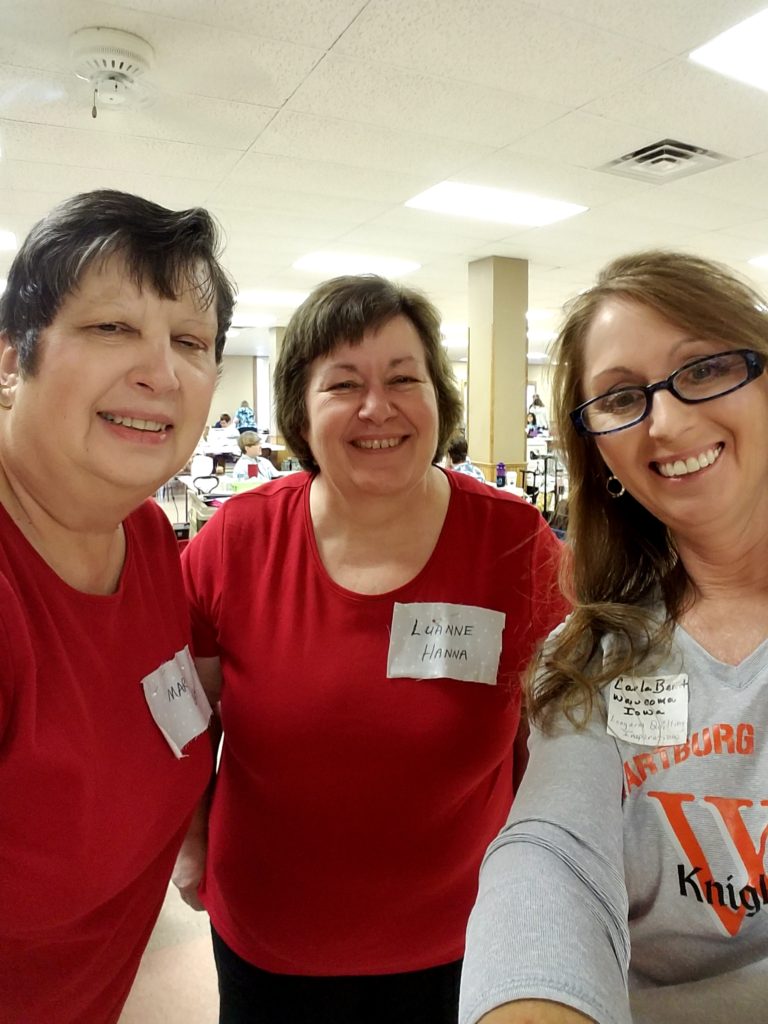
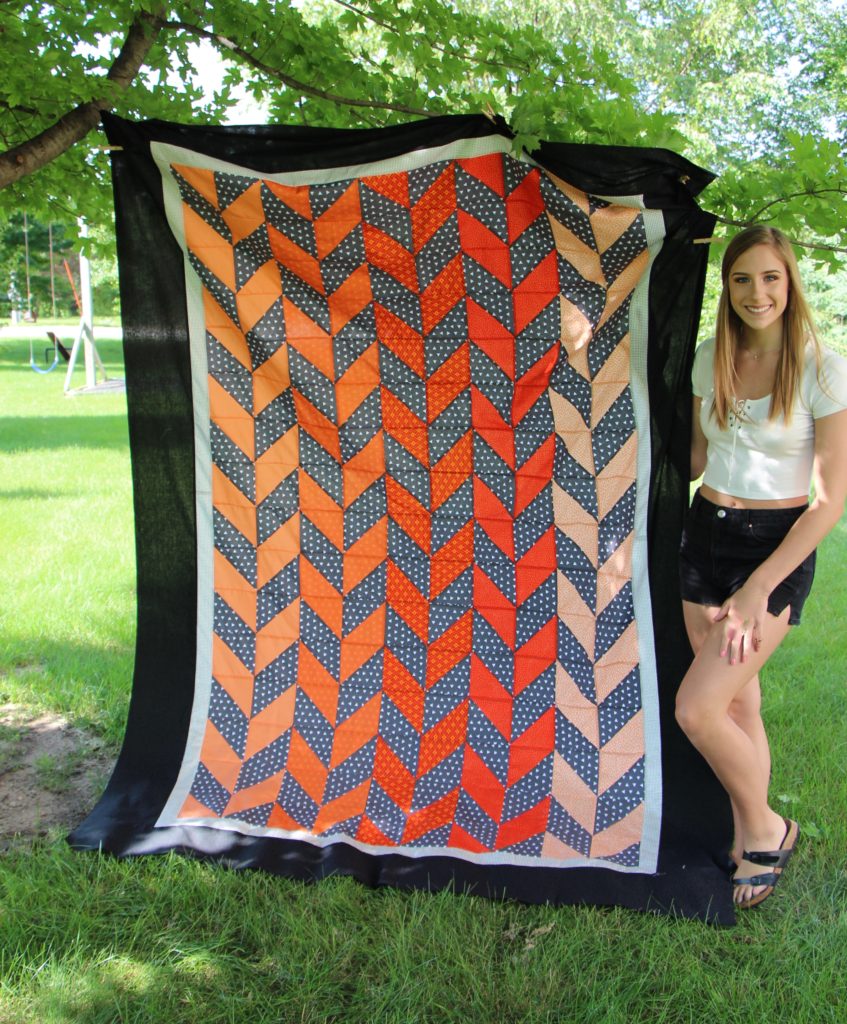 Hi, my name is Gene Anne Berst. I am your guest blogger for today. I am 17 years old and I go to North Fayette Valley in West Union, Iowa, where I will be a senior this year. After that I will be going on to Wartburg College. At Wartburg I will be majoring in psychology. My favorite hobbies are dancing and cheering. I also enjoy reading, writing and doing makeup.
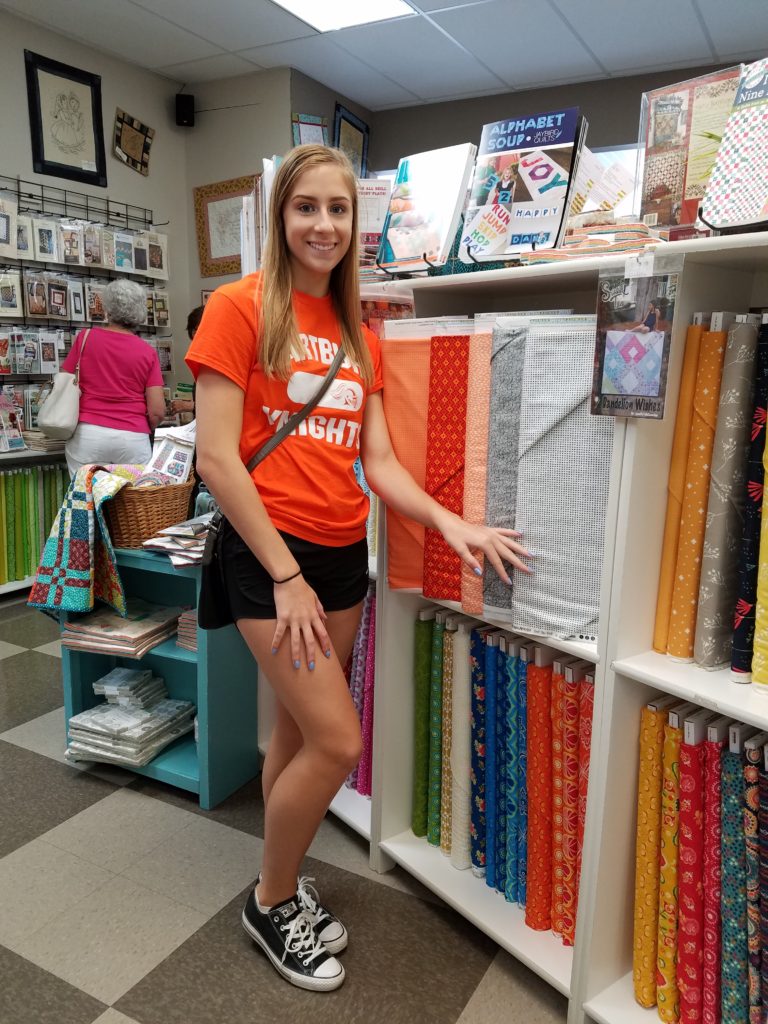
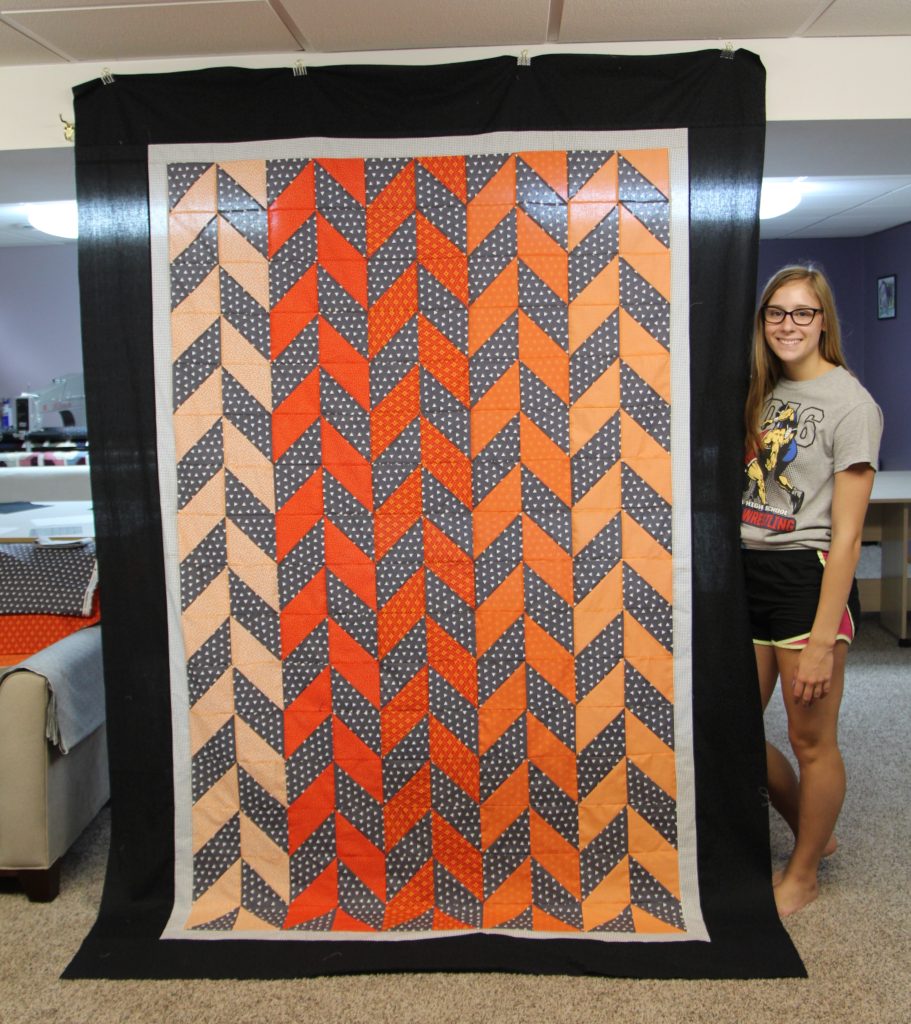
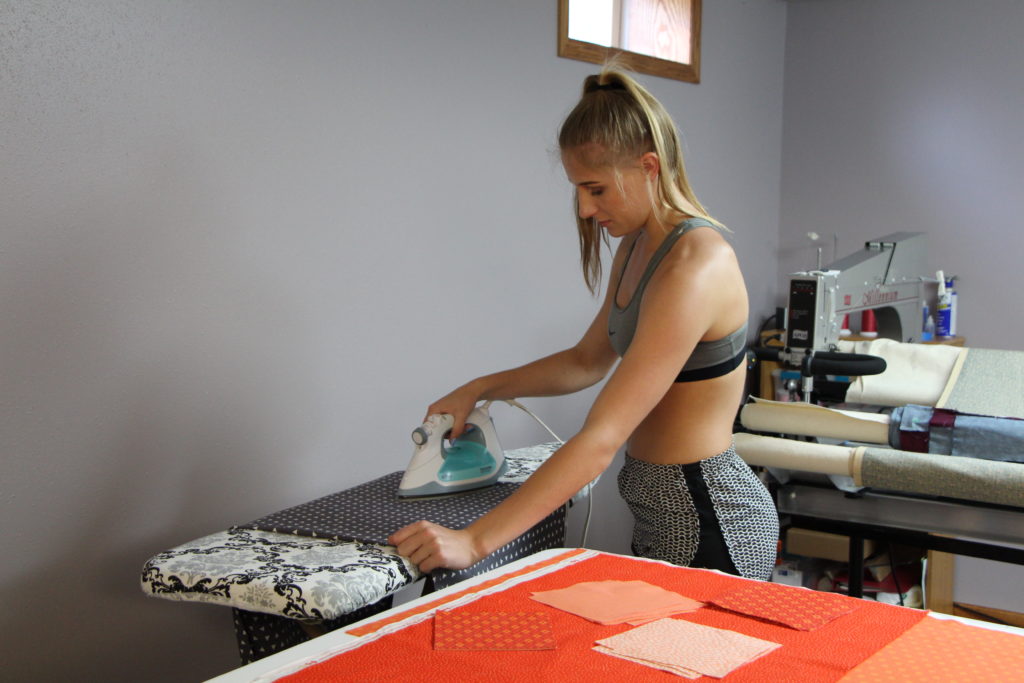 Once the blocks were cut, I marked a line diagonally, using a ruler, across one of the six inch blocks, pined them together (one orange, one grey).
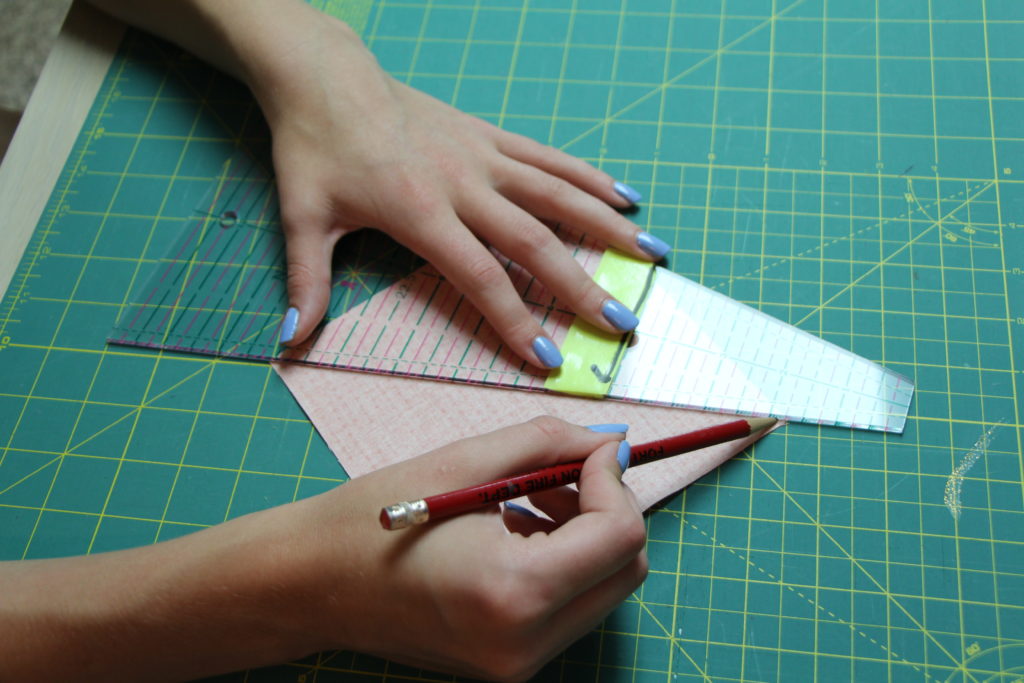 Next I sewed down each side of the diagonal line. After that, I cut right down the diagonal block. There was then two squares of orange and black triangles.
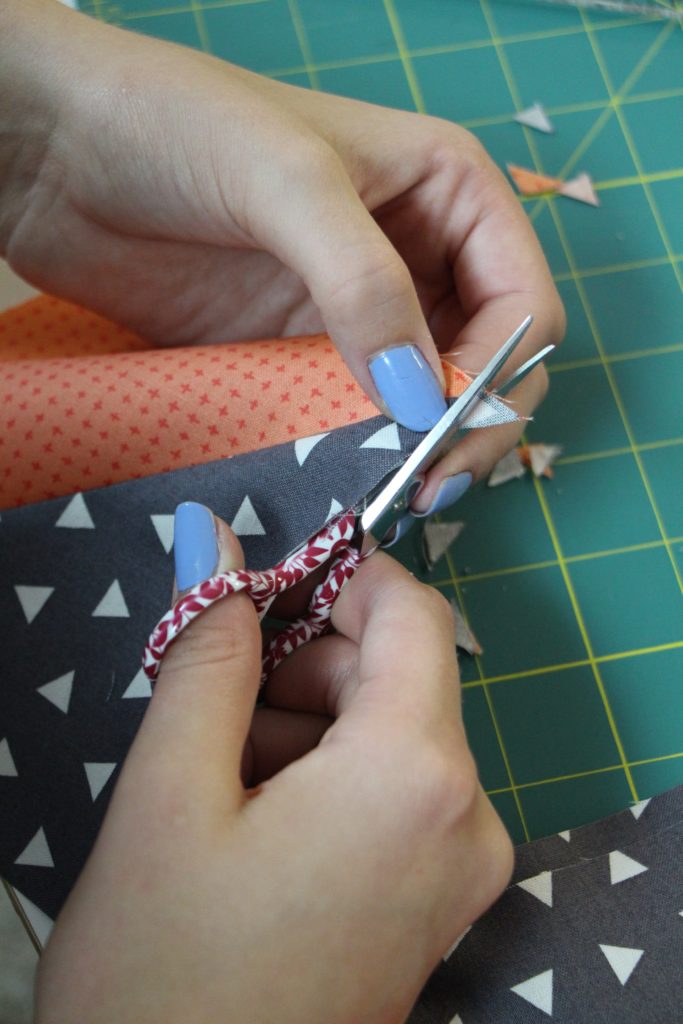
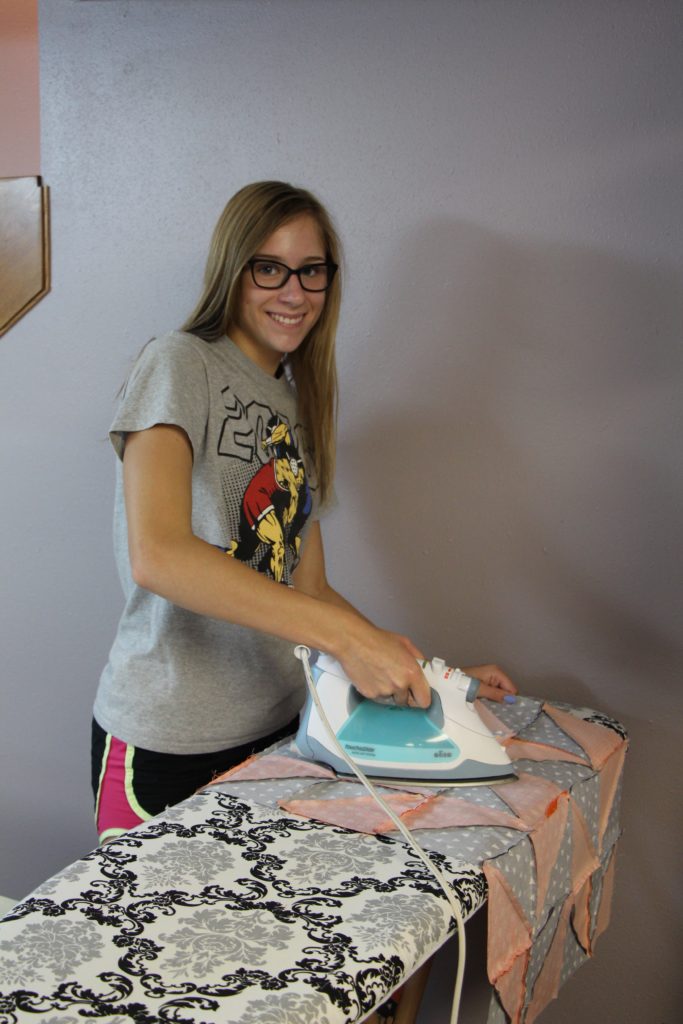
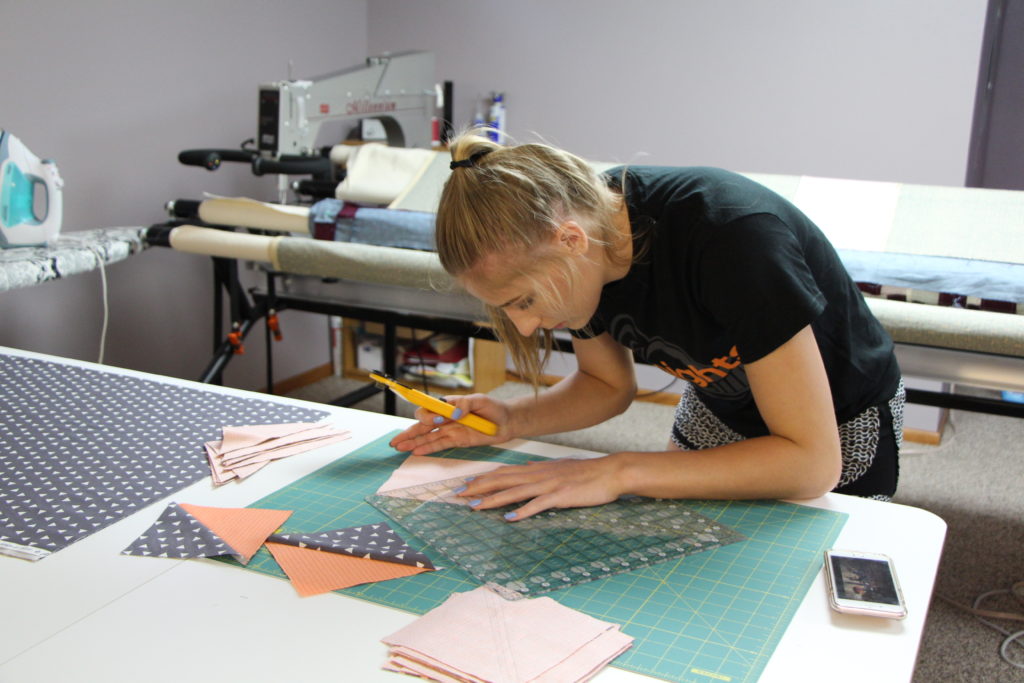 Once the blocks were cut apart, I ironed them, and snipped off the corners.
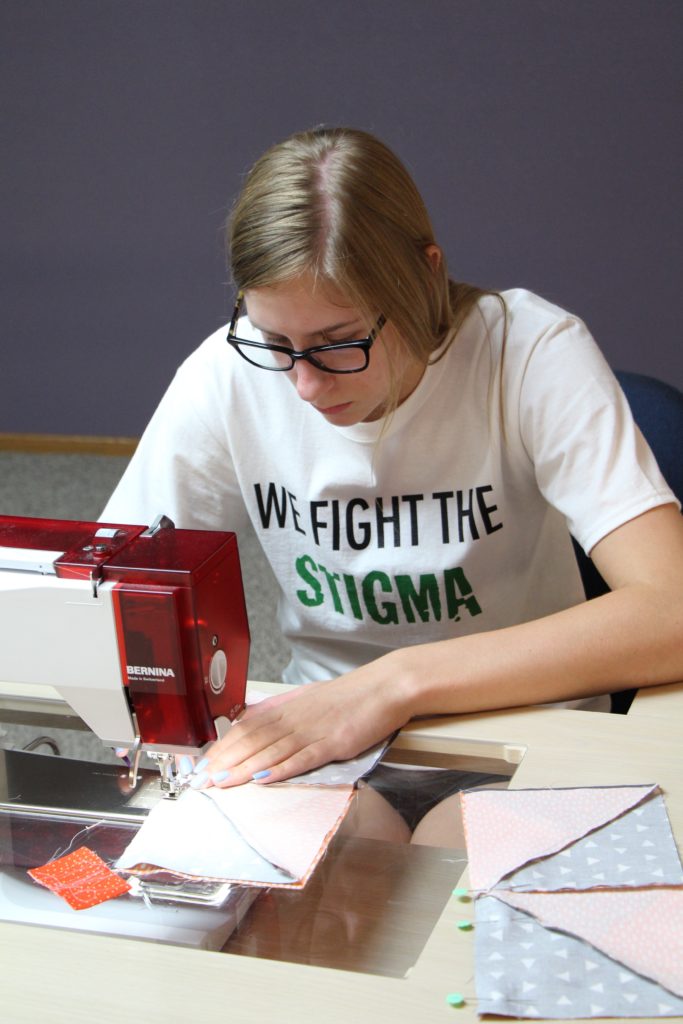
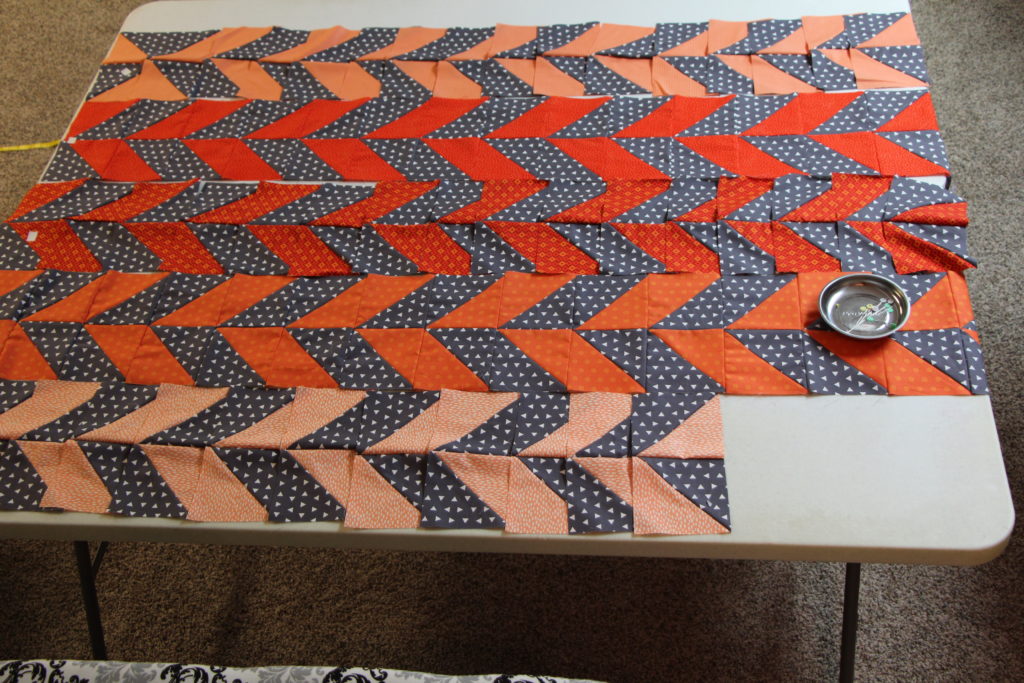 Then I sewed all the small blocks together and continued to sew the blocks until there were rows. In between sewing the blocks together, I ironed the seams so they laid flat.
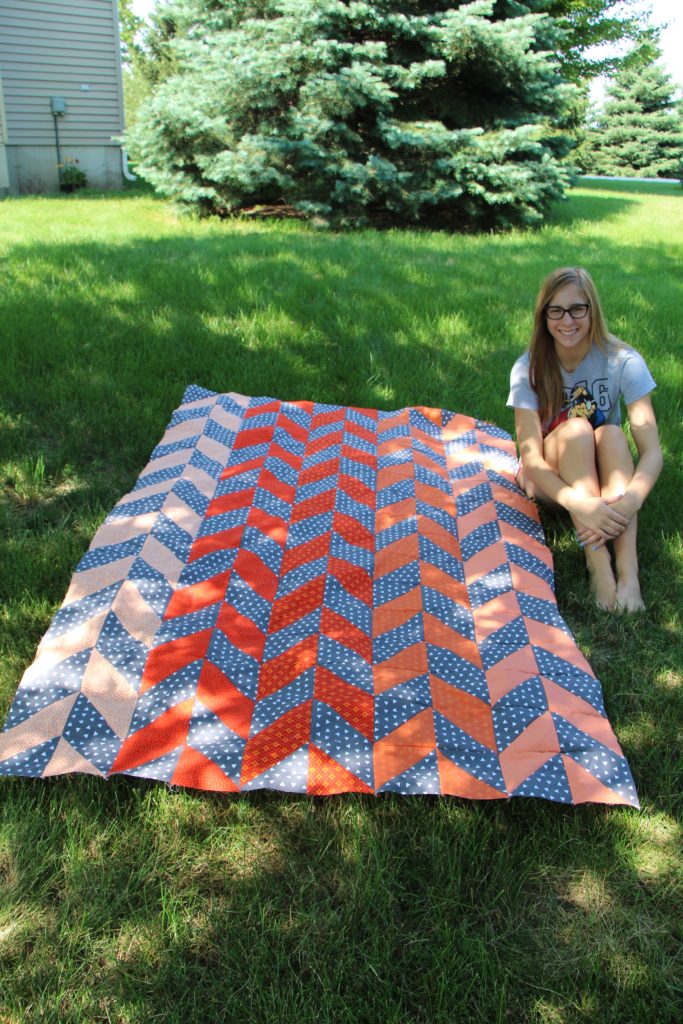
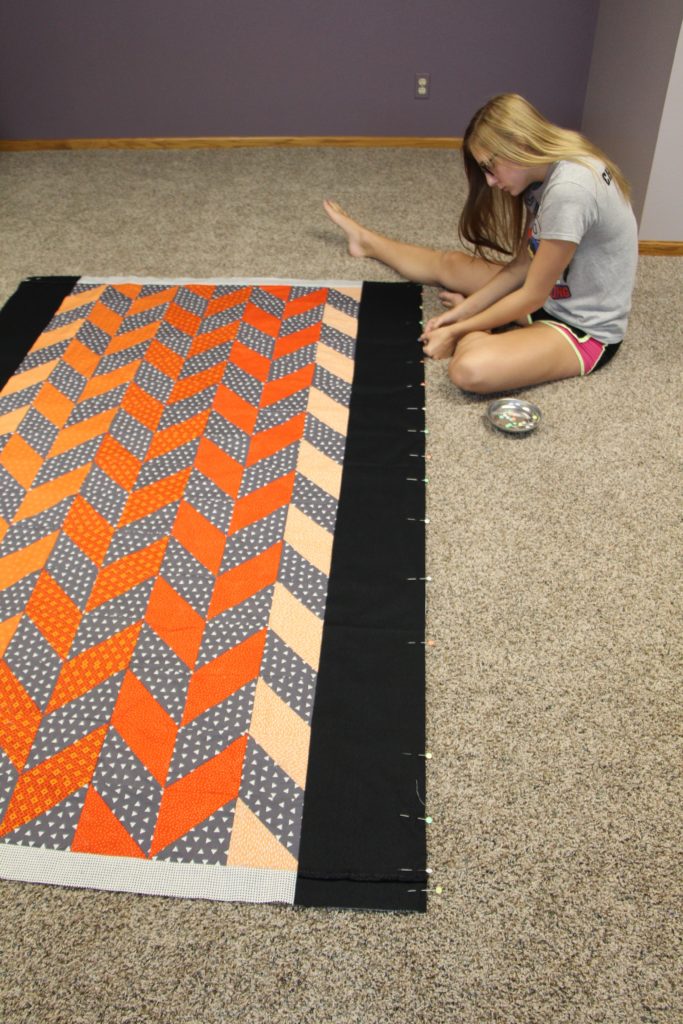
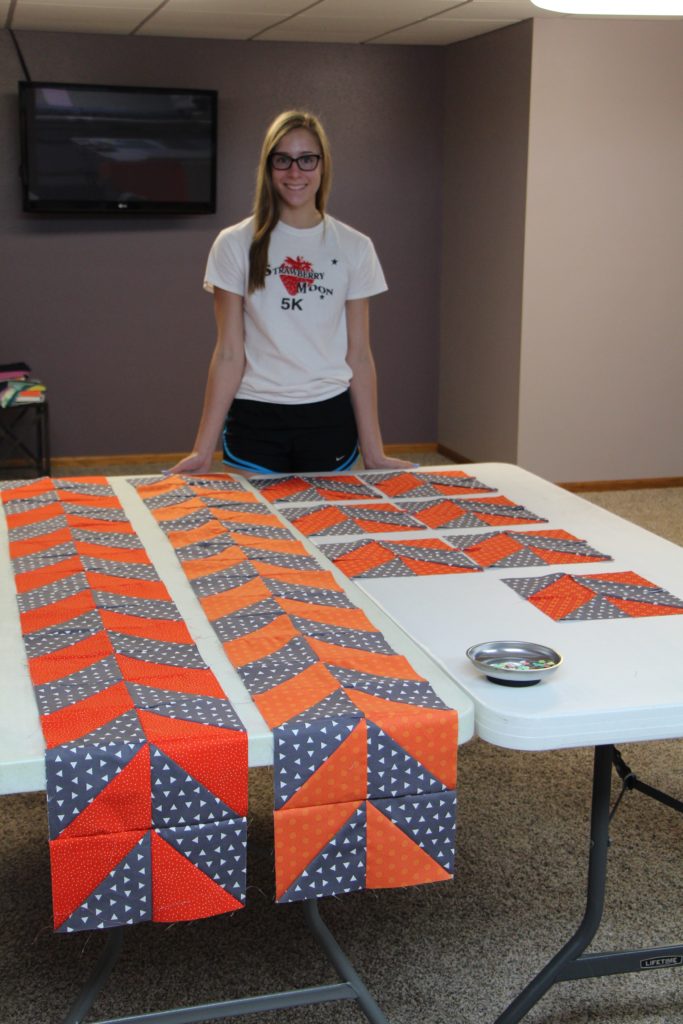 My mom helped me finish the top by sewing some of the the rows together. I don’t like sewing the rows together because I struggle with marrying the seams.
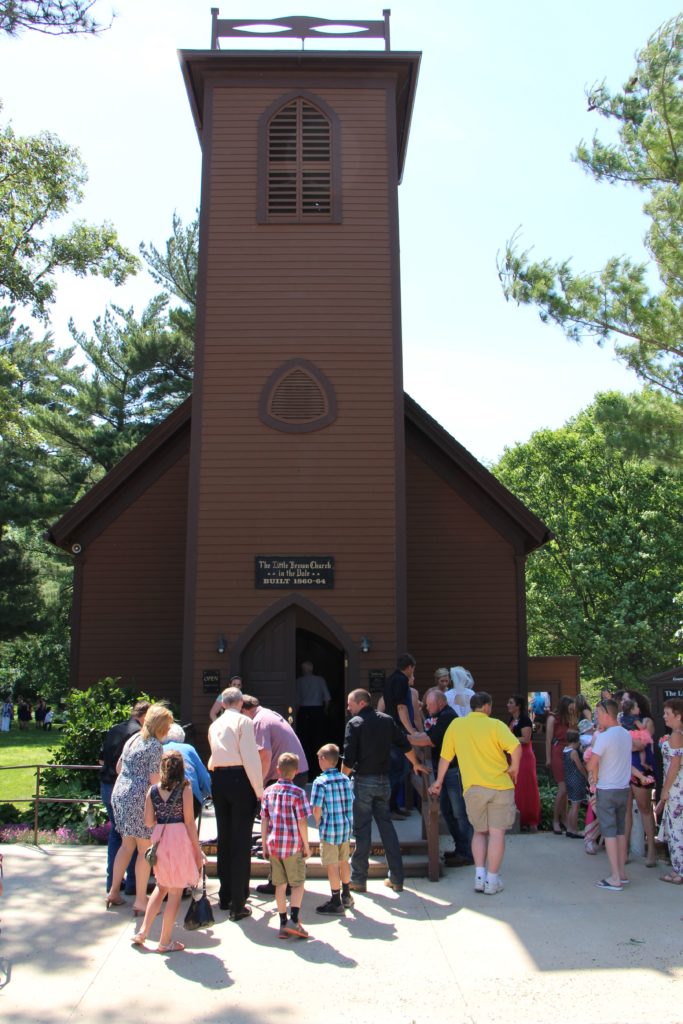 Our family attended a wedding at
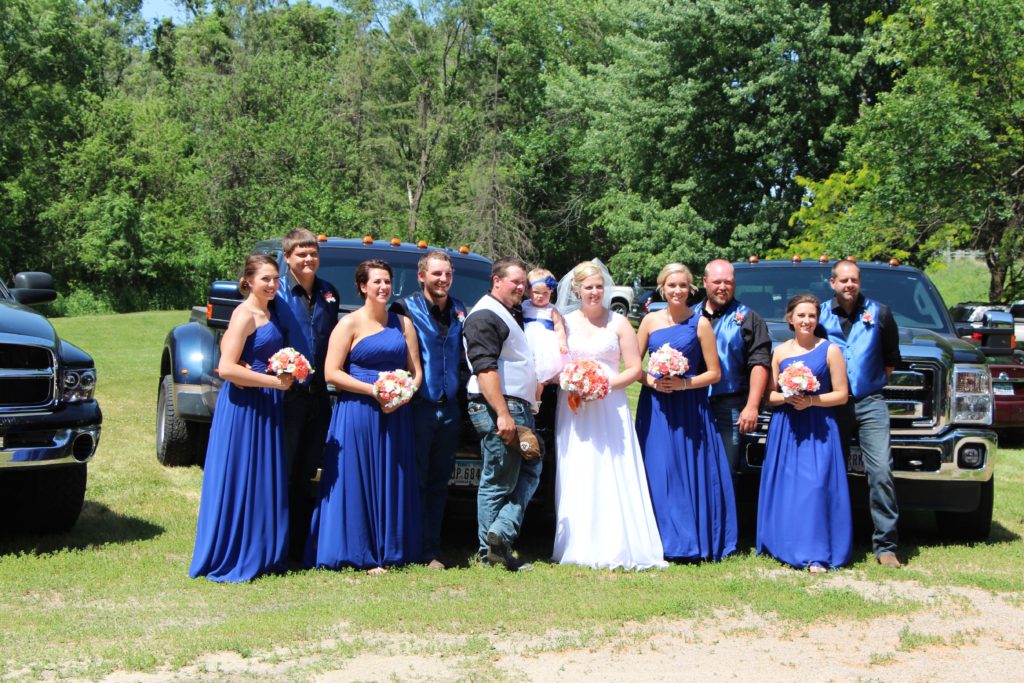
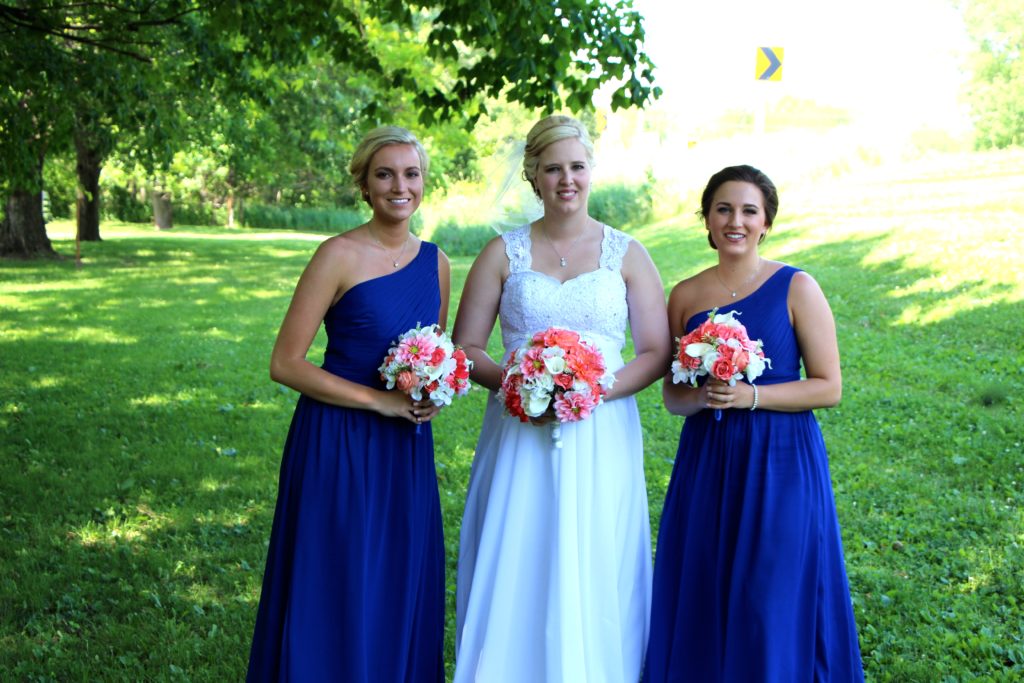
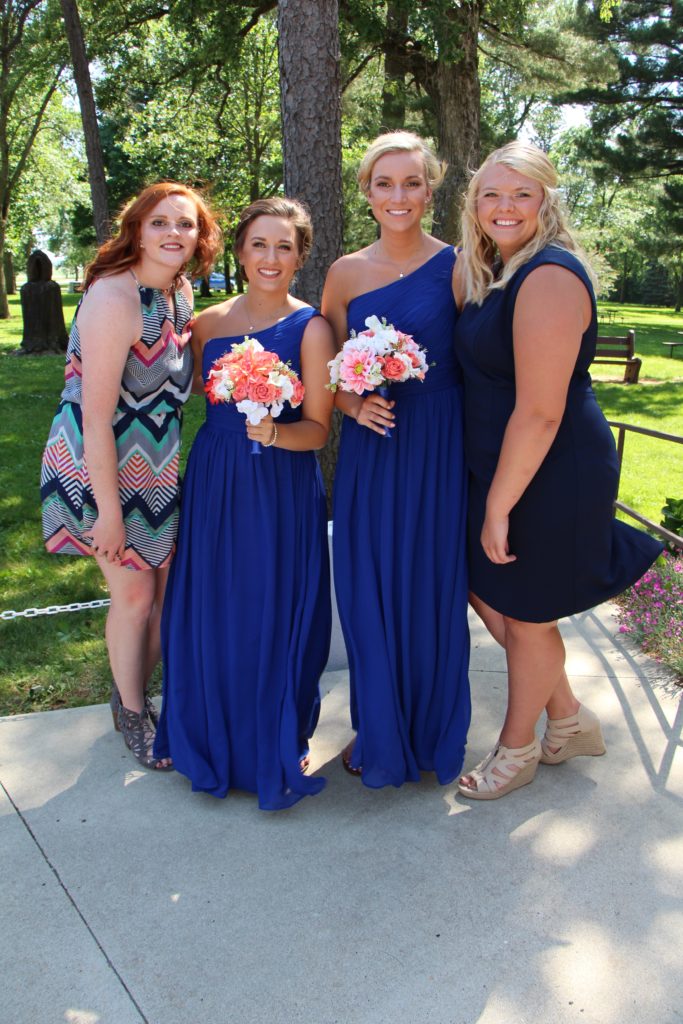 It was a beautiful day for this beautiful bride.
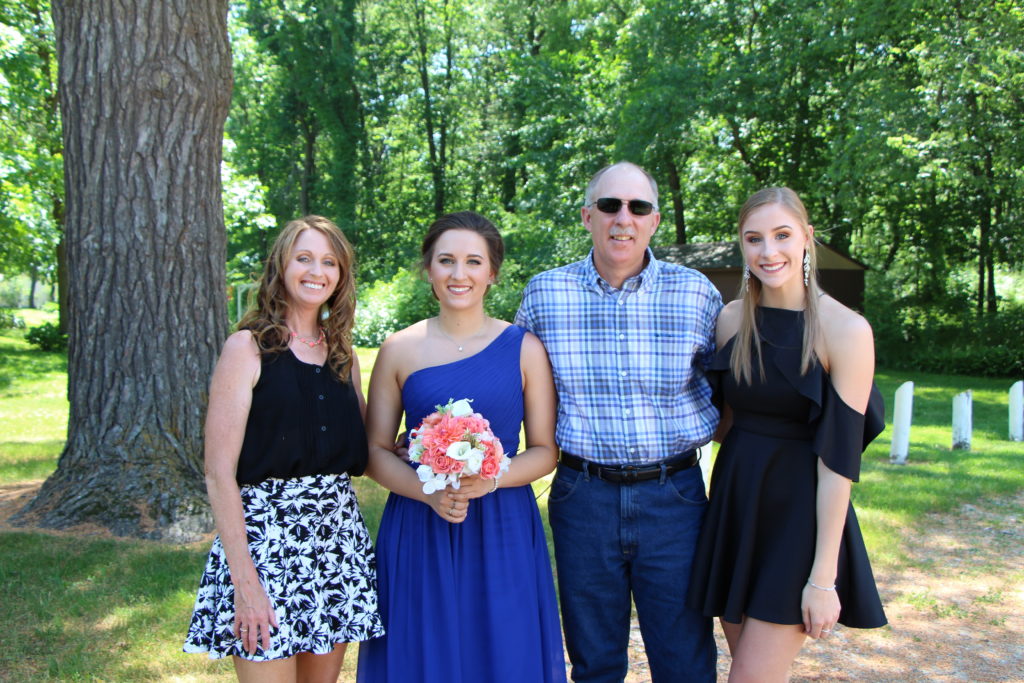
 A photo of the family, minus Victoria.
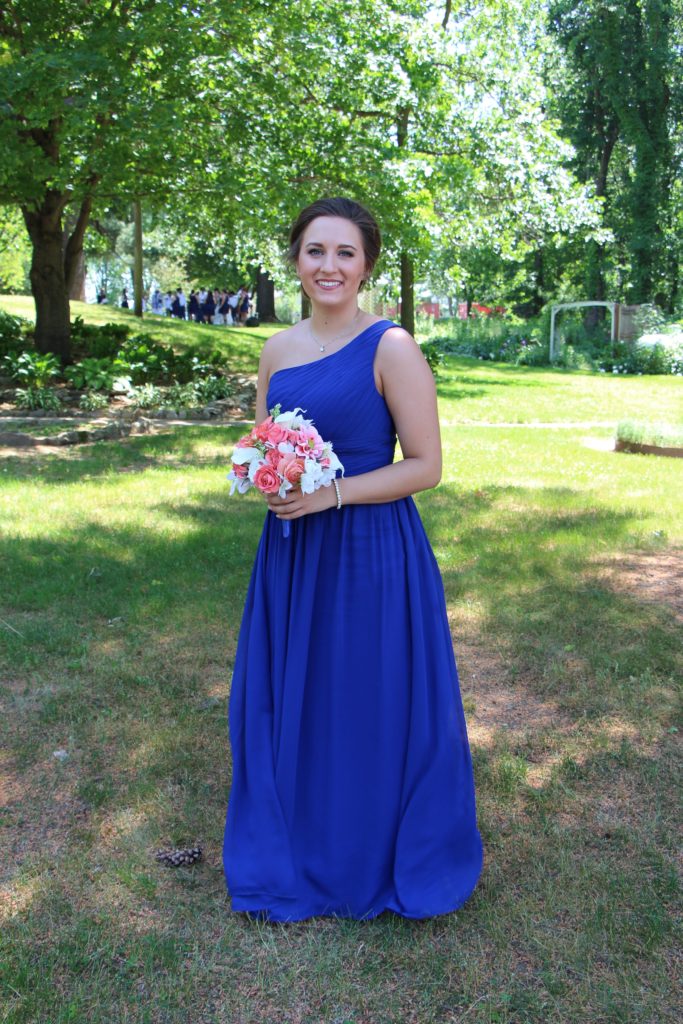
 And one more of Noelle.
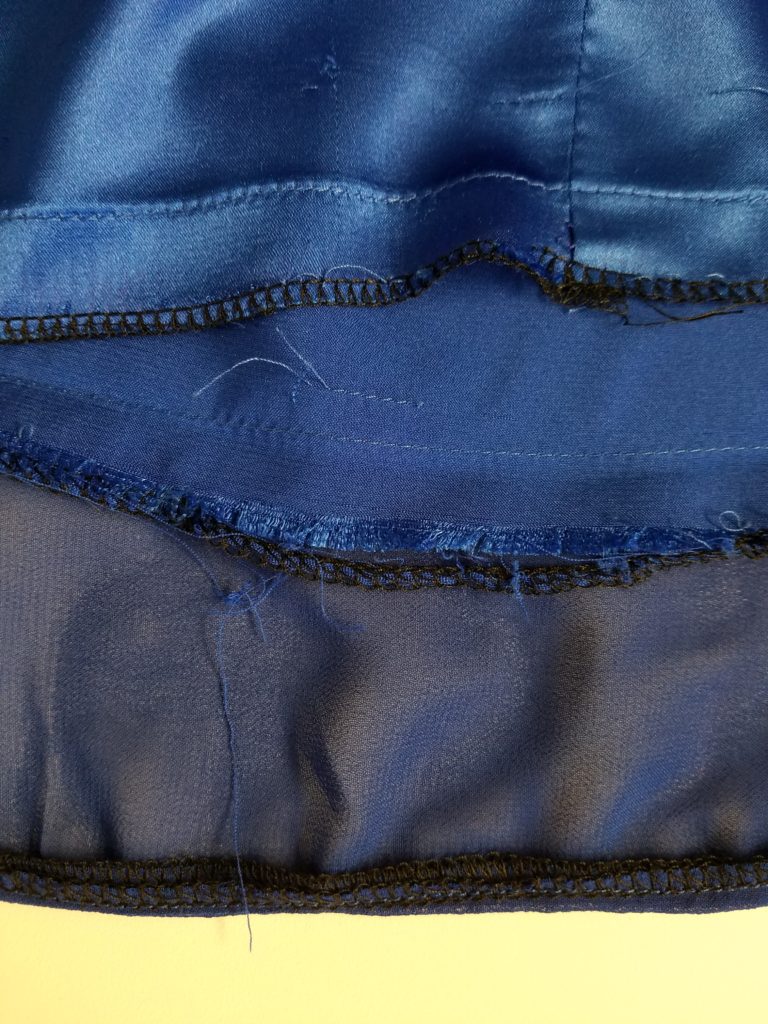
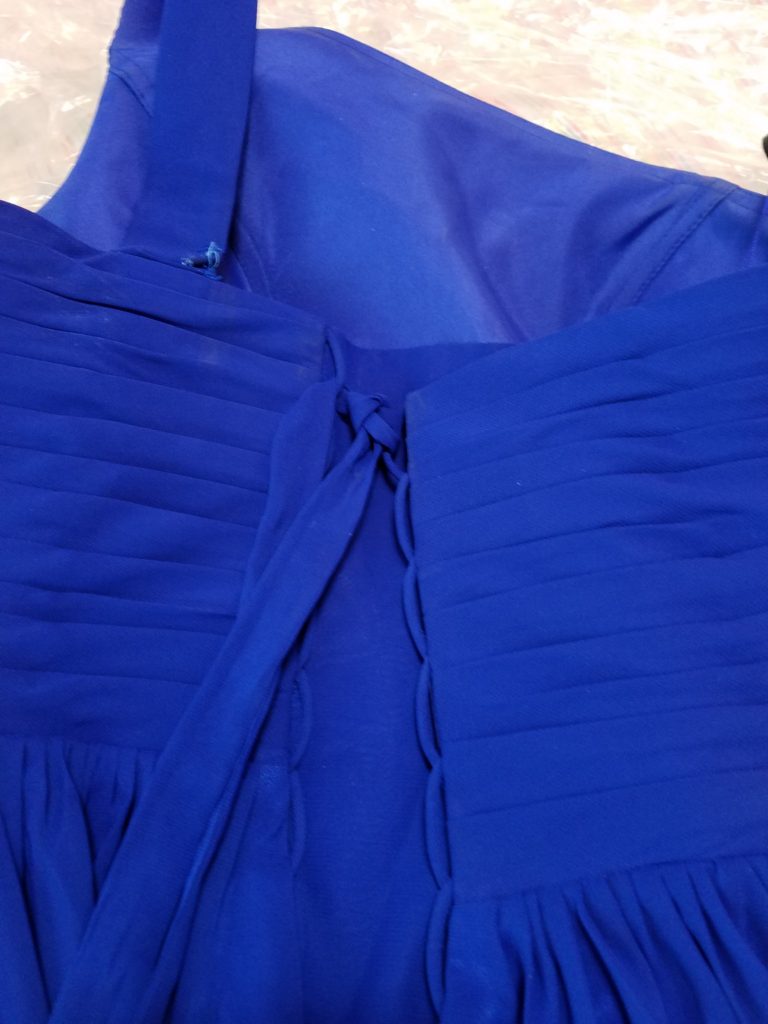
 Have any of you had dress alterations mishaps like this, or is it just me? Share your story and your solutions! Happy quilting:)
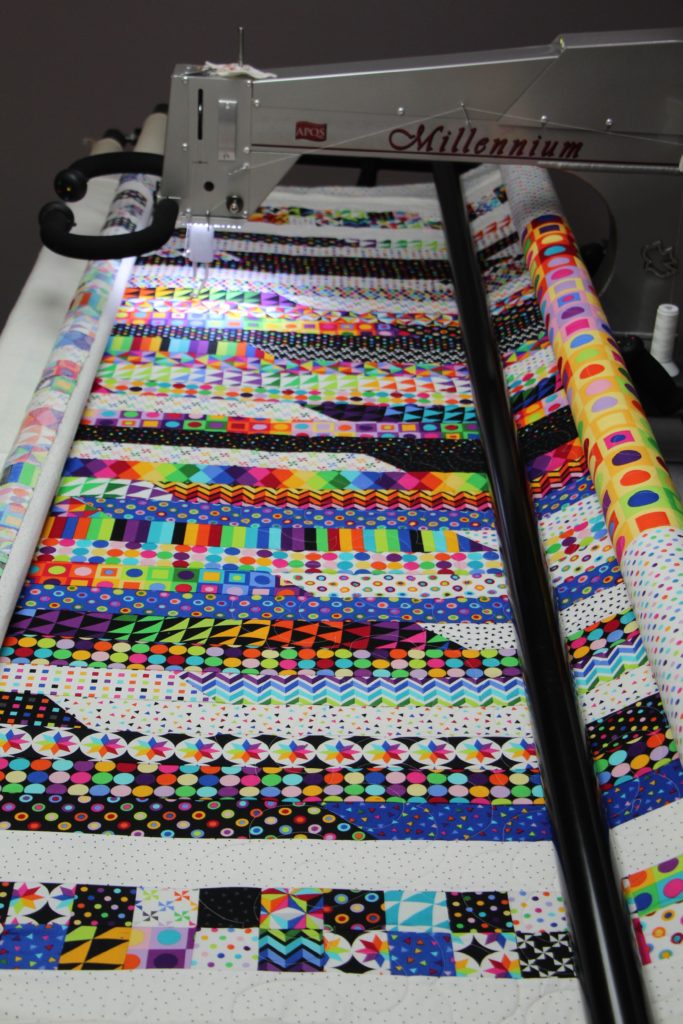
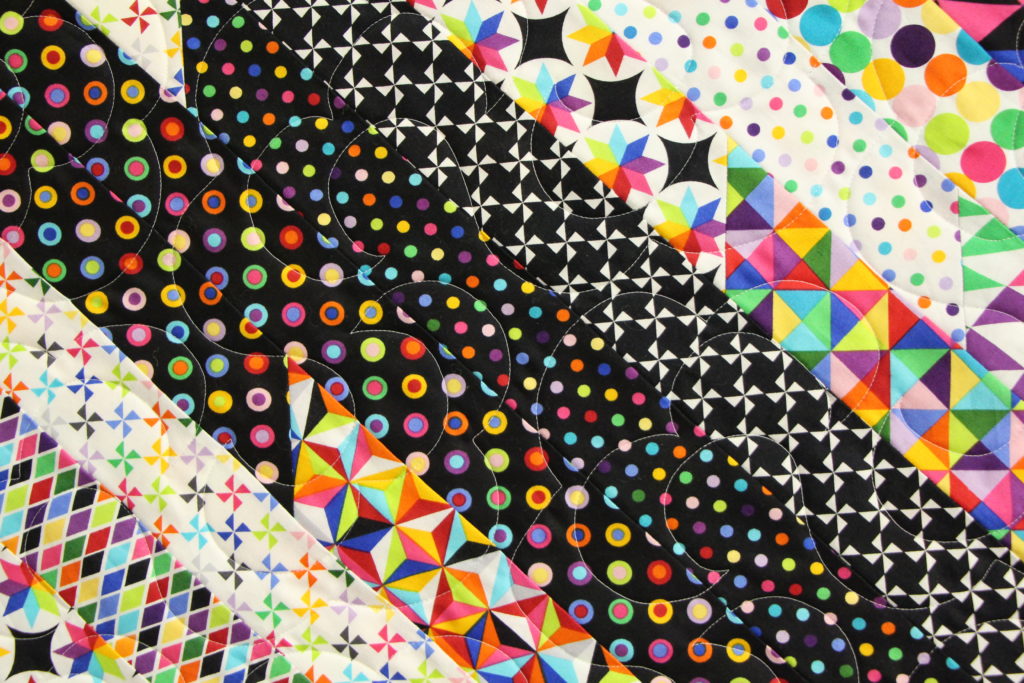
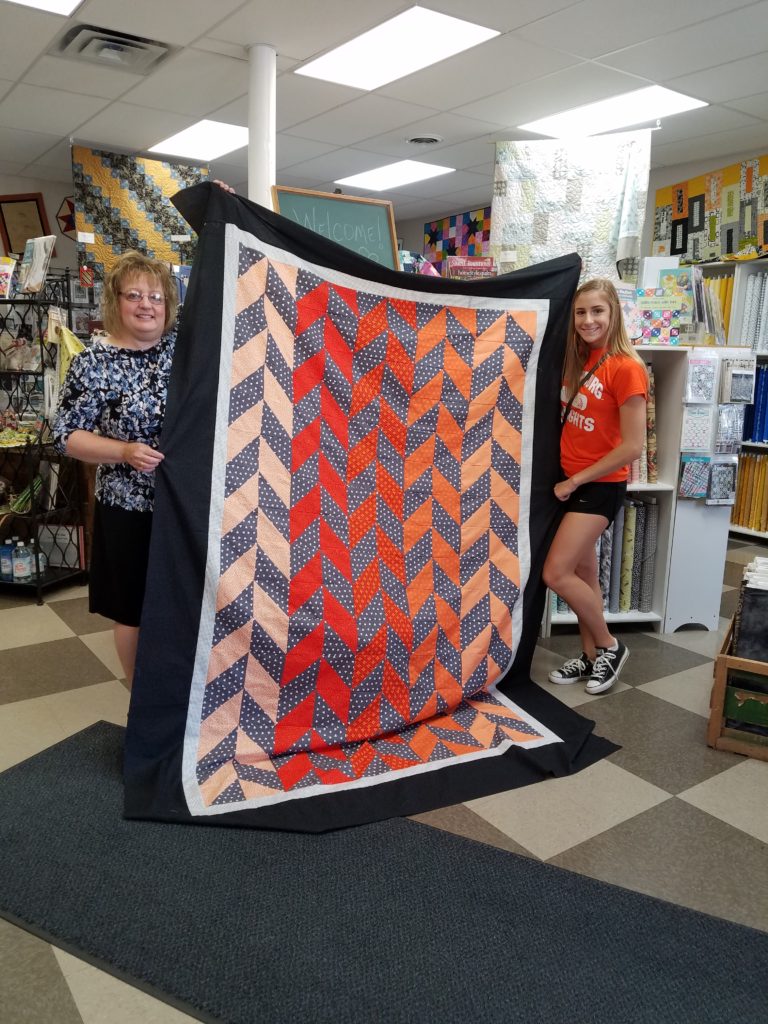
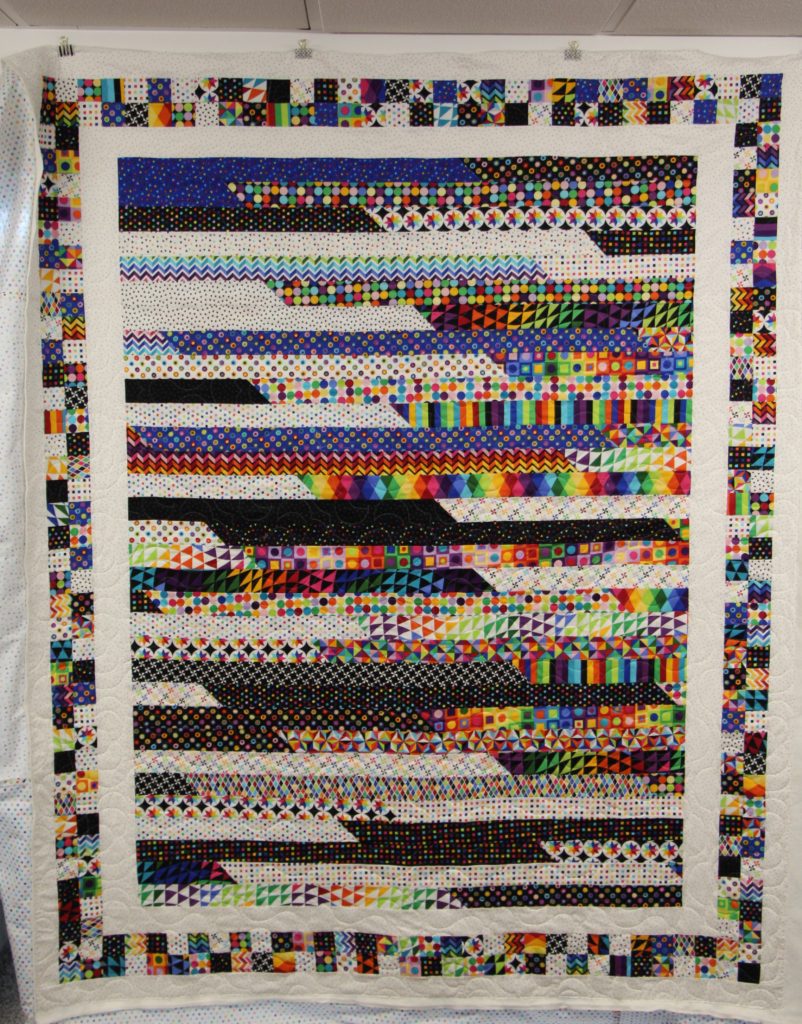
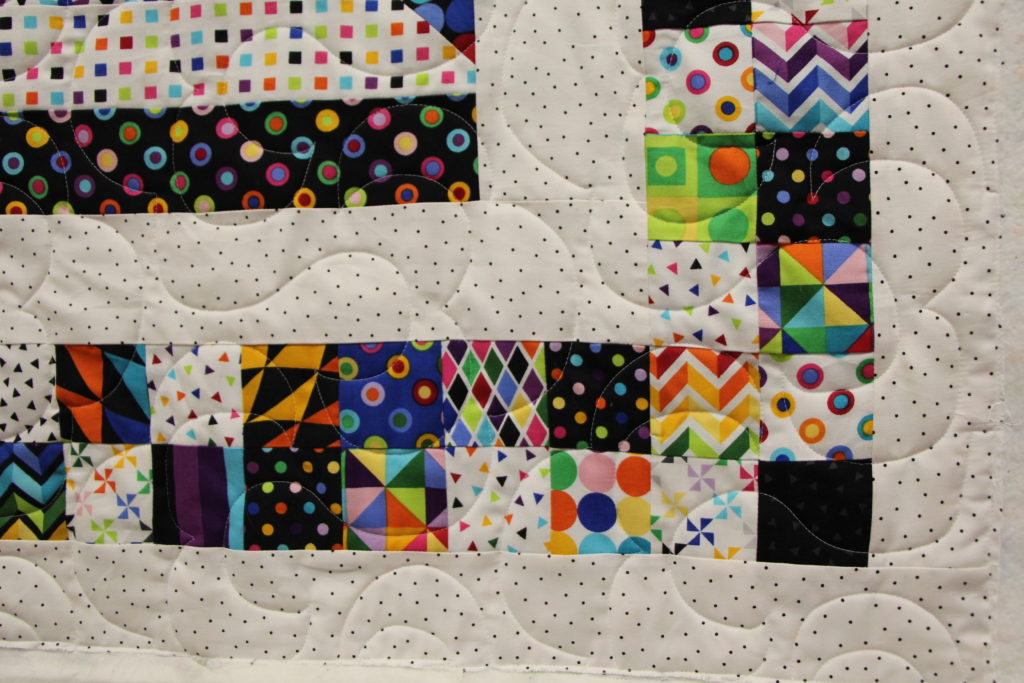 I asked her about the pattern and she said it is a jelly roll quilt. She would recommend this for a quick method of putting a quilt top together. I’m with her, don’t we all need a quick quilt from time to time.
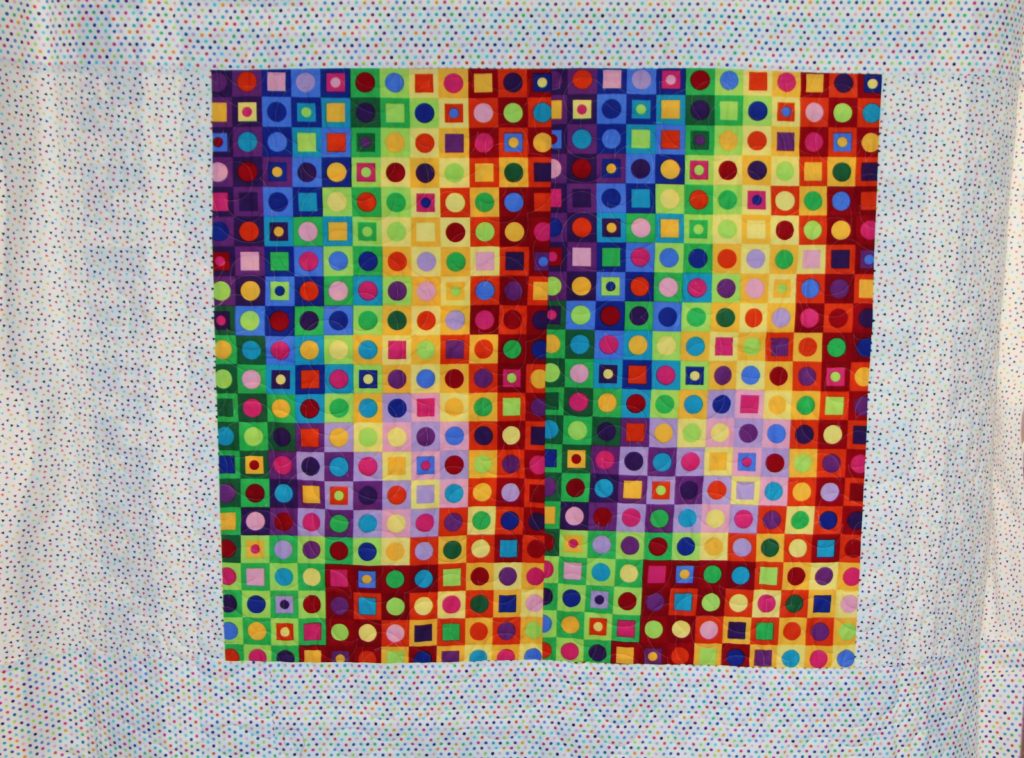
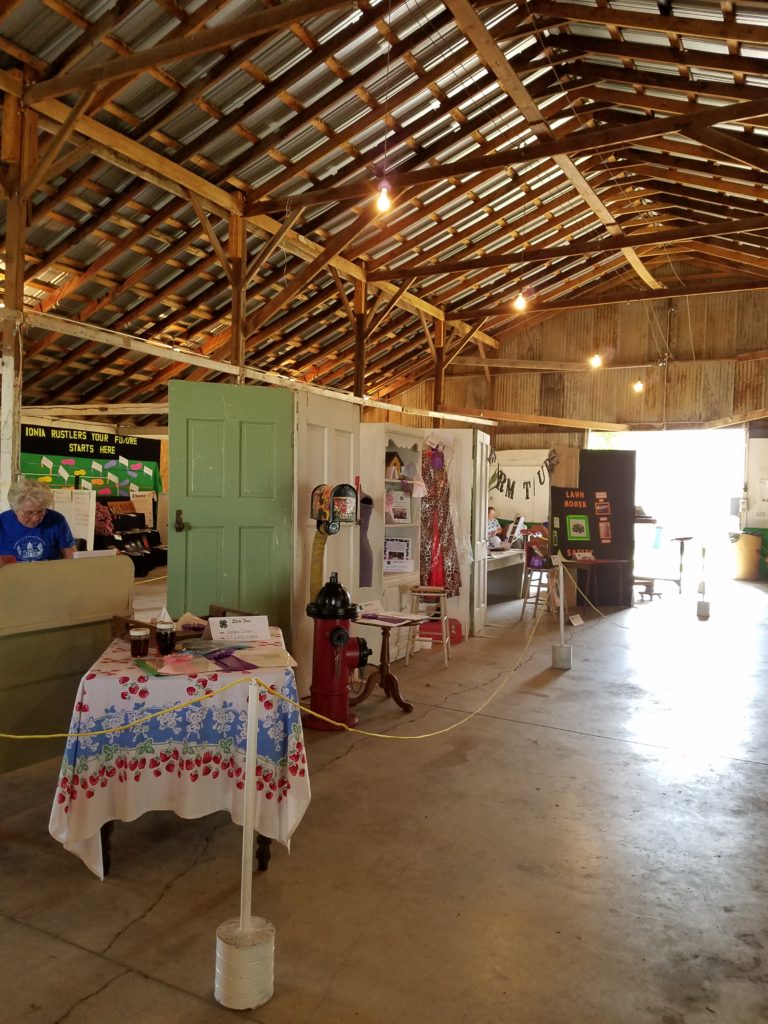
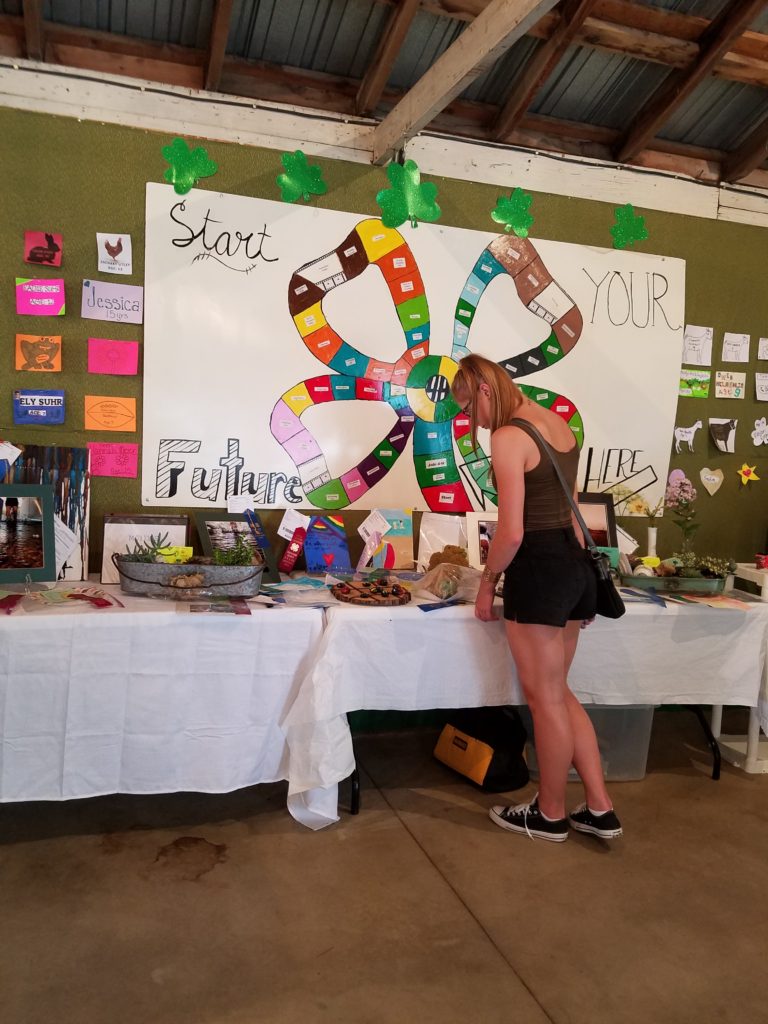 I was on the look out for the sewing projects and I really enjoy seeing what the youth have completed through the year, here is what I found.
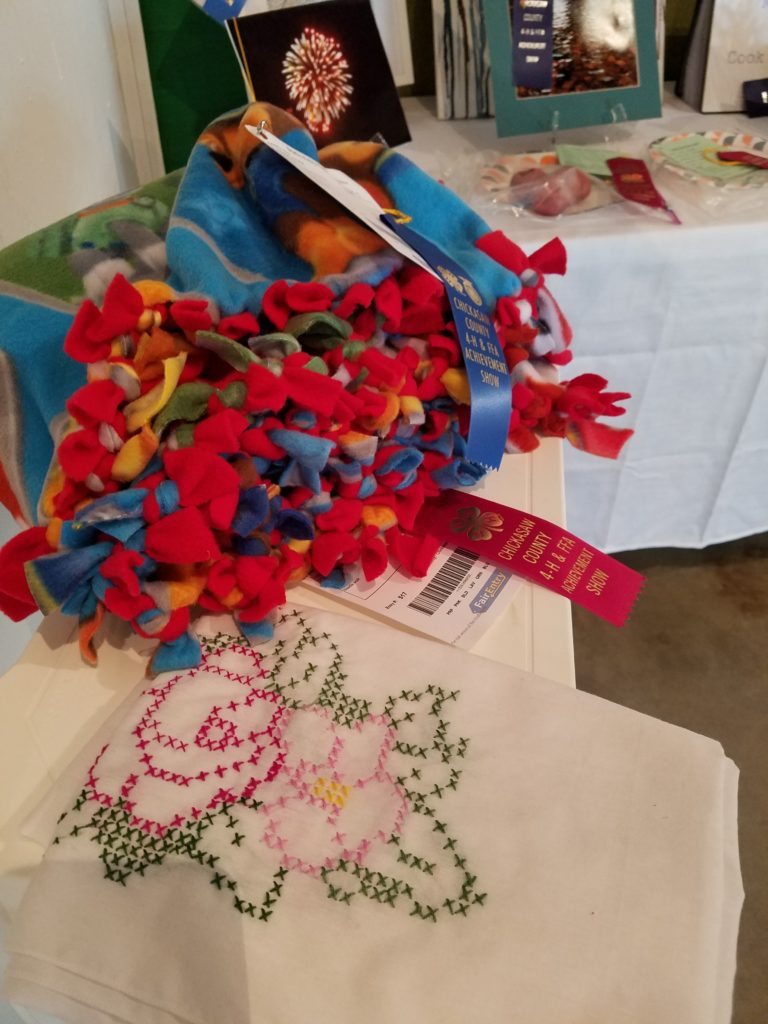
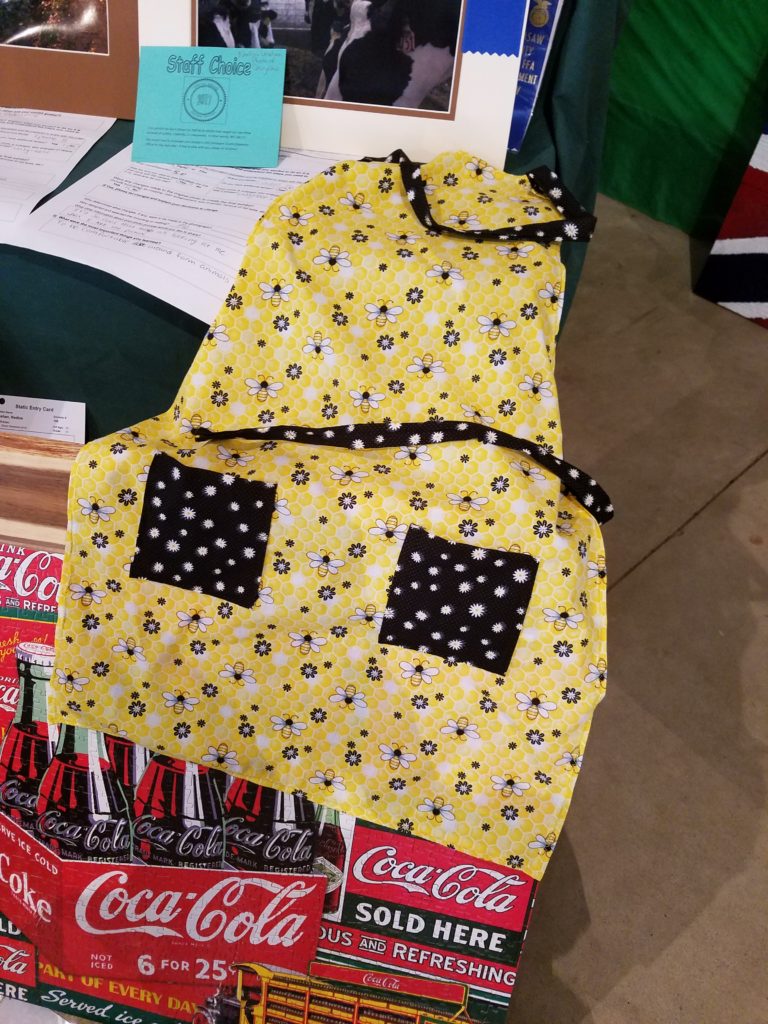 A tie fleece blanket and a tablecloth with cross stitching was next. Each of these projects are unique and show the interests of each child. I was especially happy to see the cross stitch as many young people have never seen this, much less know how to make them. The stitches on this were clean and even.
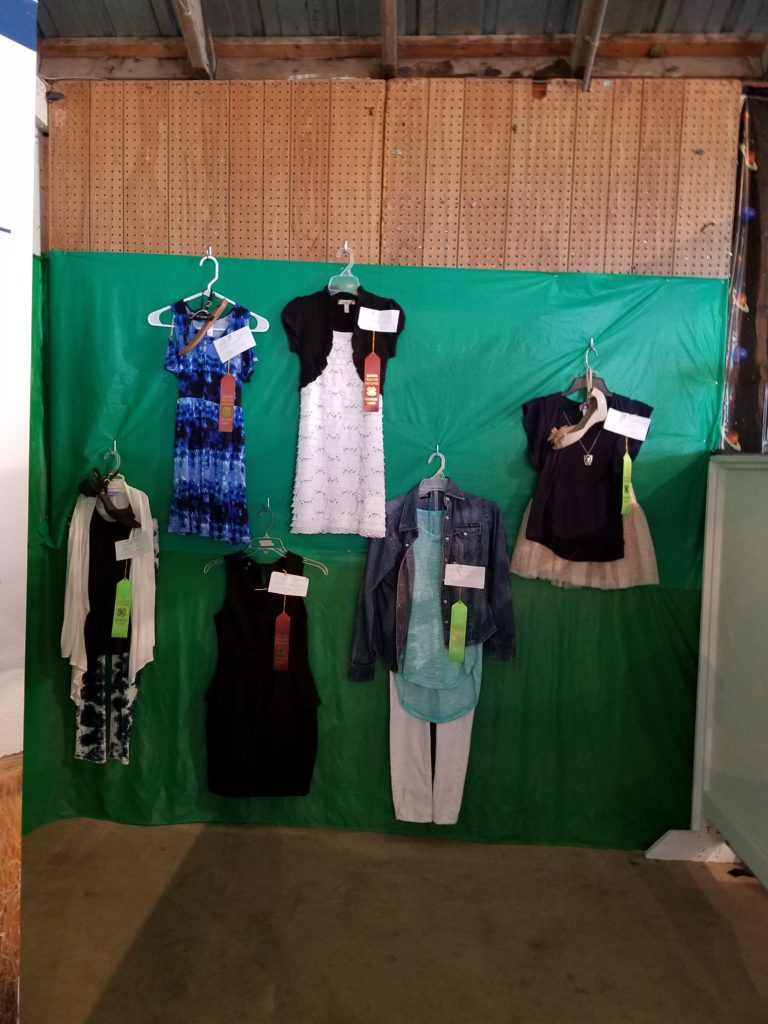
 The youth can also bring clothing for different categories, these outfits represent the fashion review. This is where you bring an outfit of yours and you are judged on how it fits on you, how it looks on you, why you choose this, the cost of the outfit, and the fabric content, along with other guidelines. The county had a nice selection here.
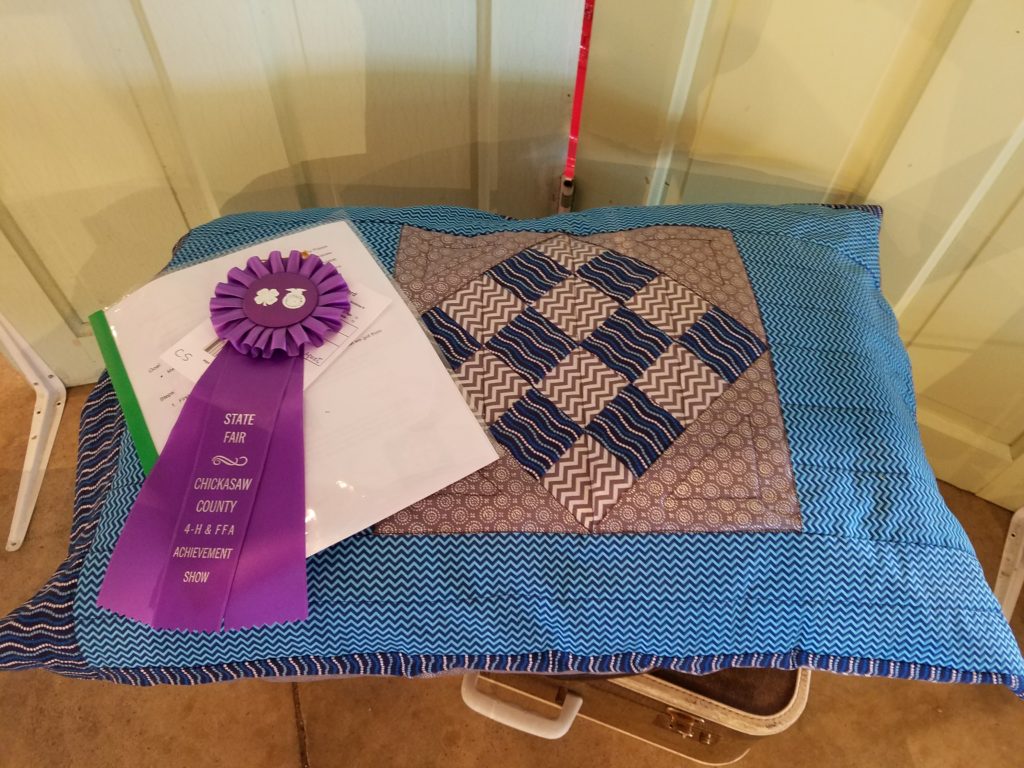
 We also came across a beautiful pieced pillow case. Up close you can see the seams all match and the pillow case lays well, maybe this 4-H’er will make a quilt like this next year!
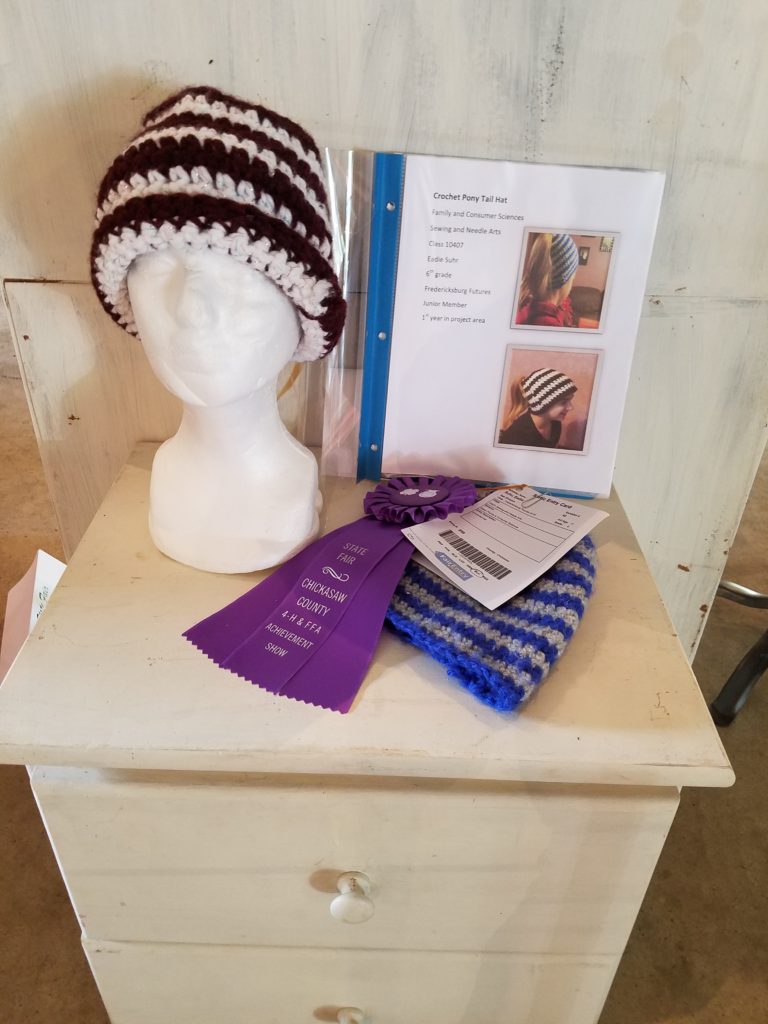
 Look at these adorable hats, and that this gal made them. I am not sure if this knitting or crocheting, if you know the difference leave a comment so next time I will know. These cute hats have a pony tail hole in the back for the hair to go through, what a great idea!
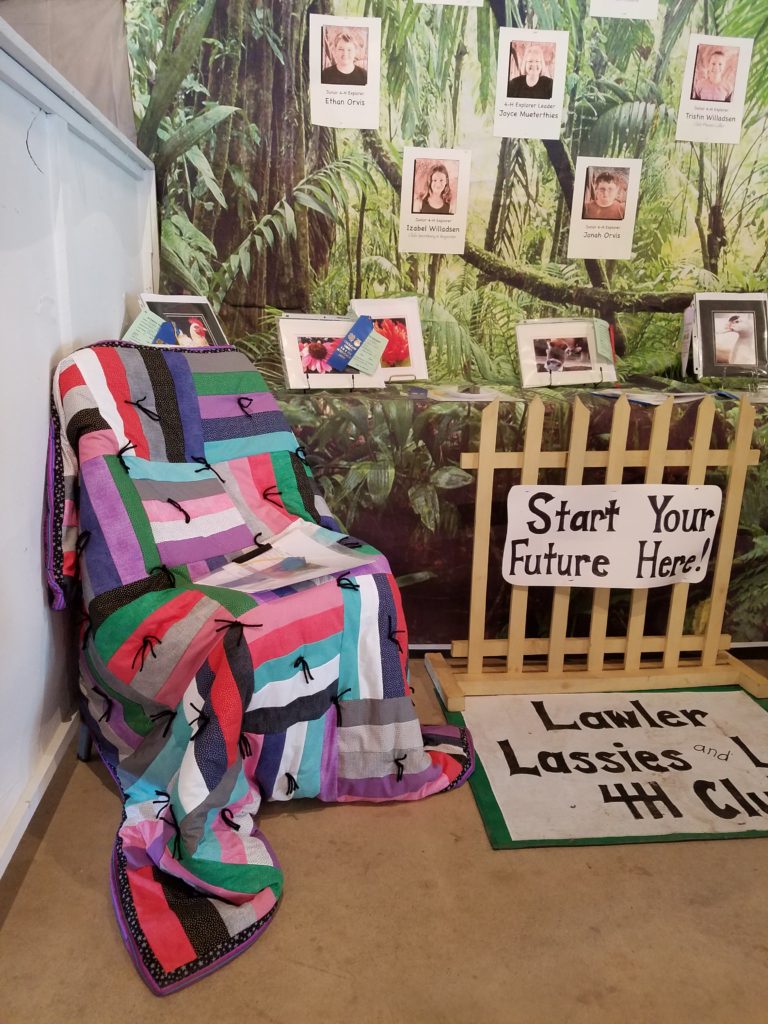
 Lastly, this was the only quilt in the entire building! There has always been more in past years, but I know the number of youth involved in this program is decreasing through the years, but just one quilt? I would have been shocked if none were to be found and I understand this may be the case next year.
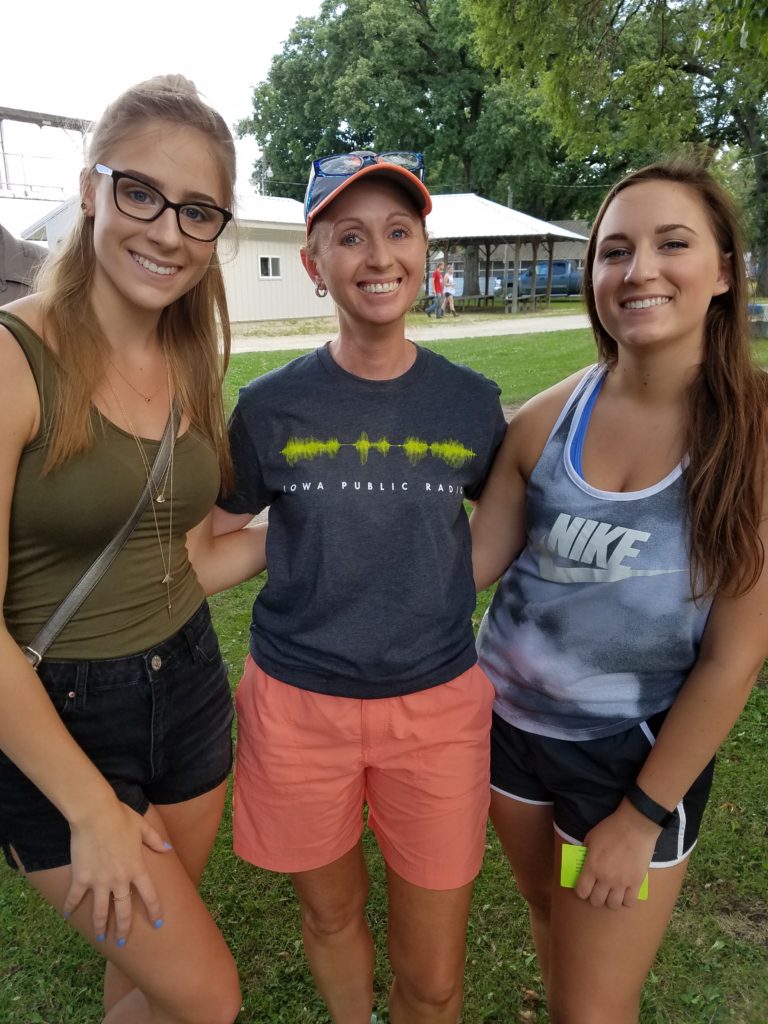
 Gene Anne, myself, and Noelle
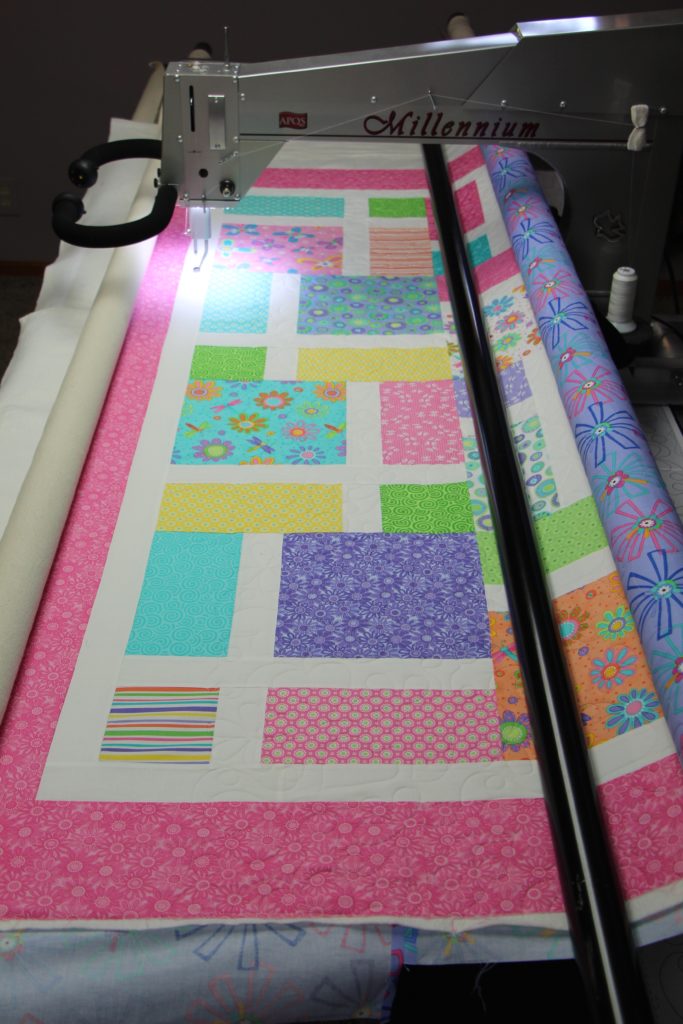 Both quilts were made using the fabric from designers Me and My Sister that Jenny had purchased from several quilt shops. For this first quilt she used a layer cake and I am guessing additional yardage for the white strips.
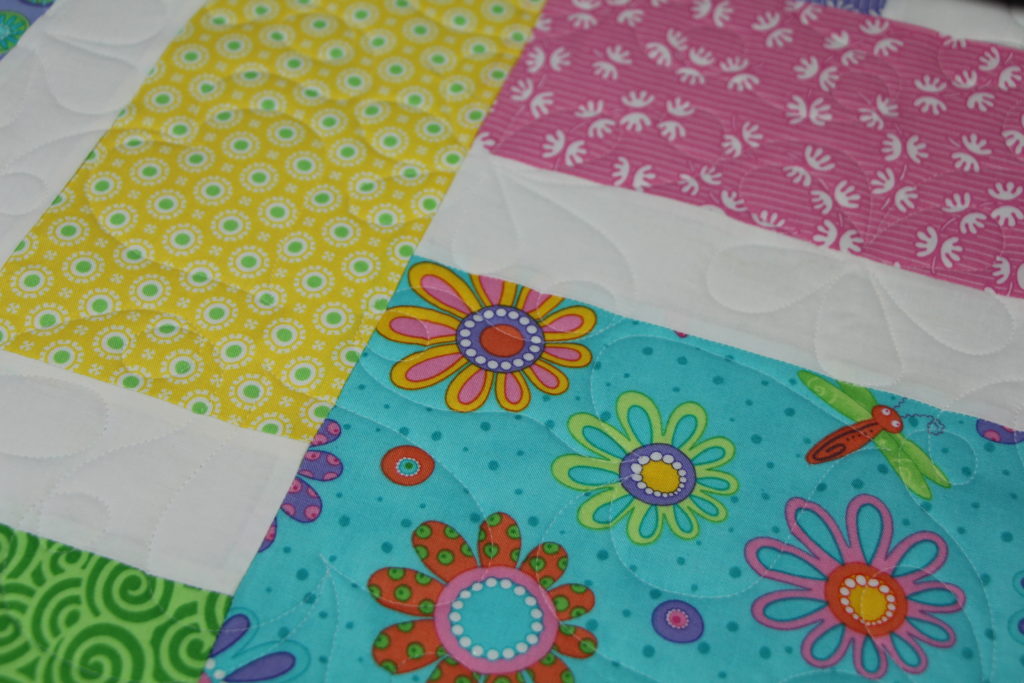 The pantograph she choose is Hearts in Bloom which I feel complements the quilt nicely. She was able to view the pantographs on this blog page and then decided which ones she liked best. We choose a white thread as to not distract from this lovely quilt.
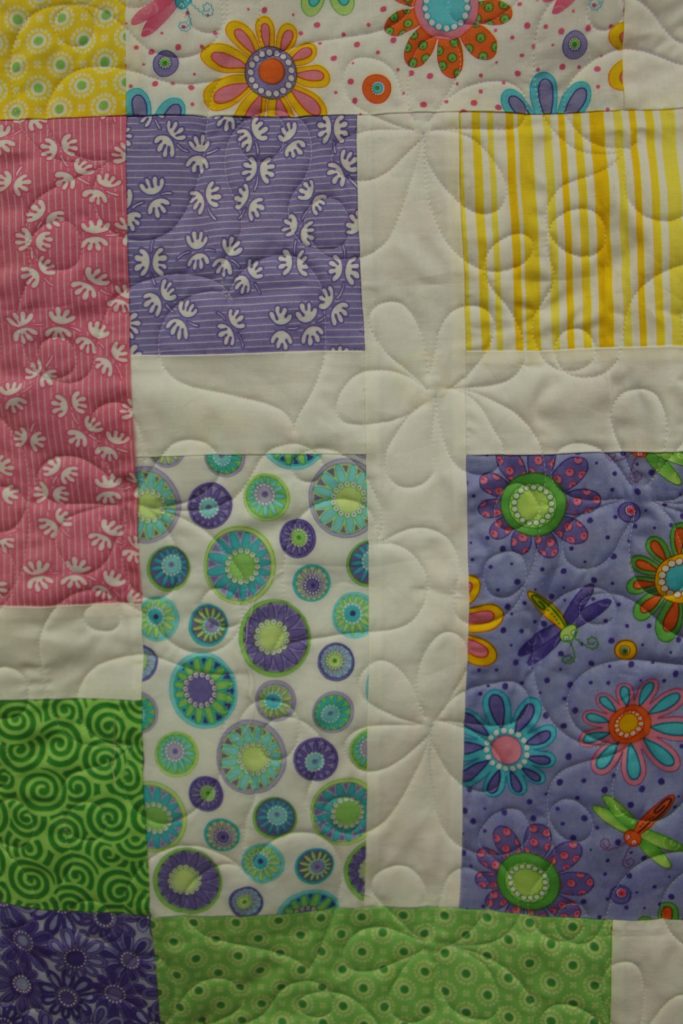 The quilt pattern is from the Missouri Star Quilt company’s Block Magazine.
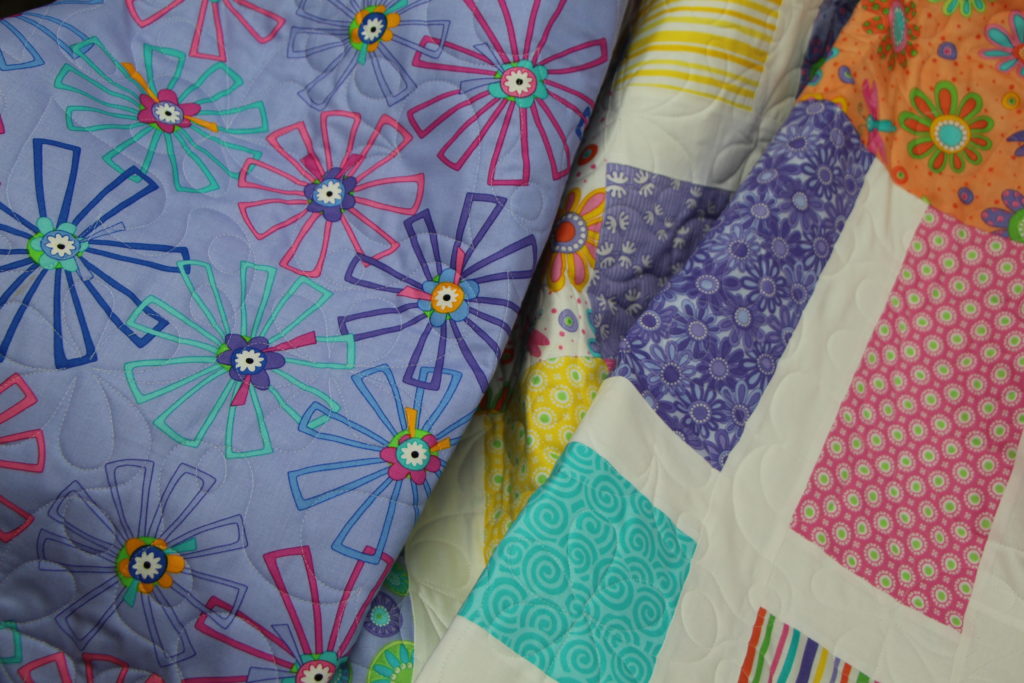 This is a full photo of the finished quilt measuring 62 x 78 a wonderful size that this little girl can grow into.
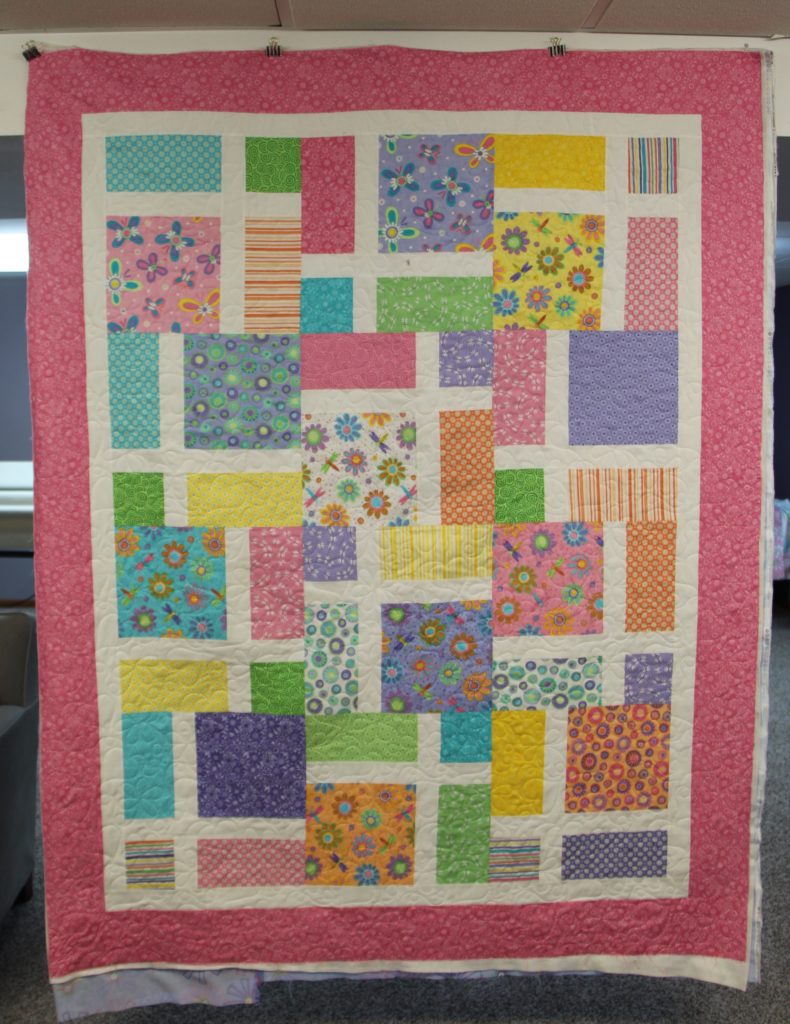
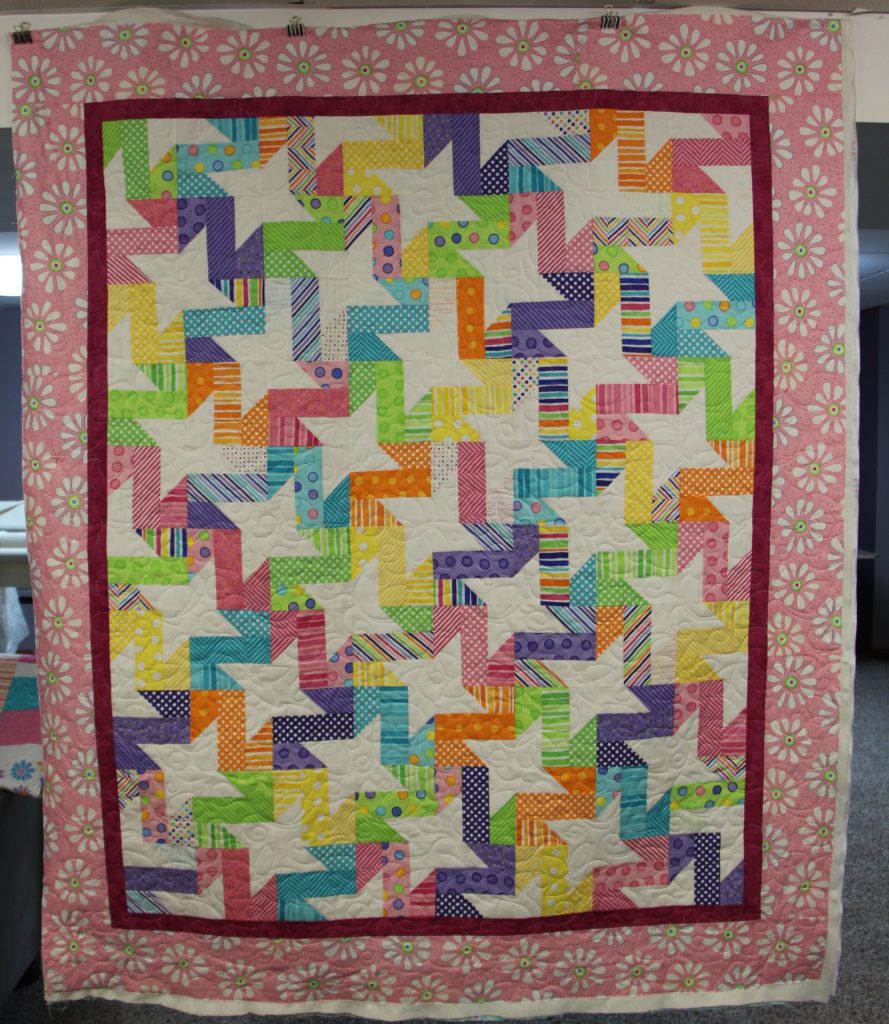
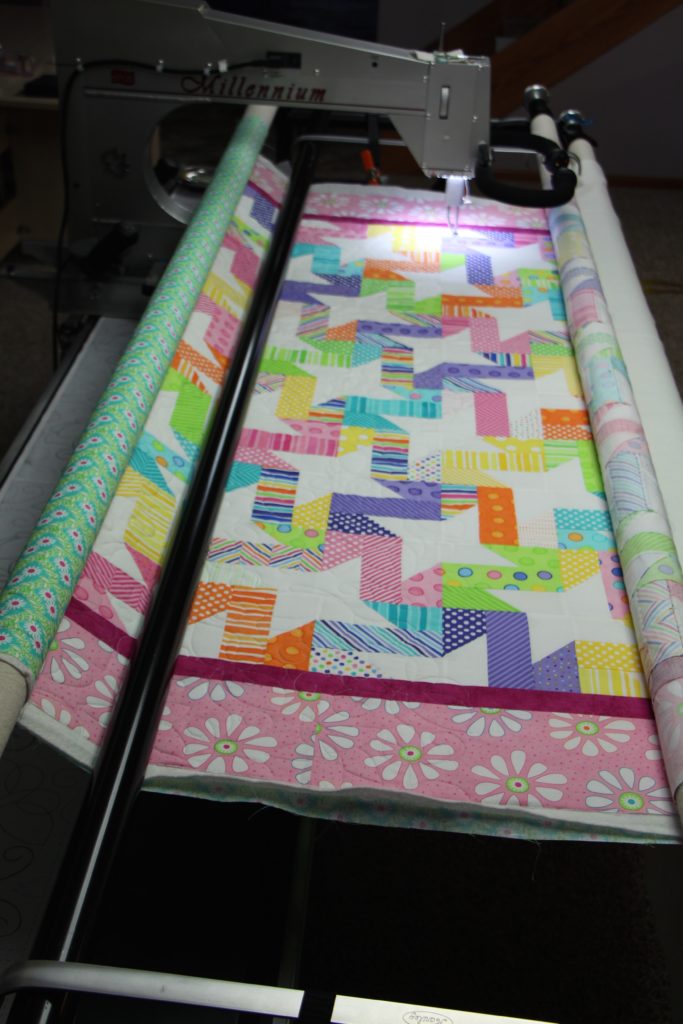 See how the fabrics are similar but the pattern, and borders are different. Jenny like all of my customers have exceptional quilting abilities, I mean this sincerely and all my customers quilts are easy to quilt. The piecing is spot on, there are no wavy borders and the back of the quilt tops are just as beautiful as the fronts. Kudos to all my customers for have the knowledge and the patience to create these wonderful quilts!
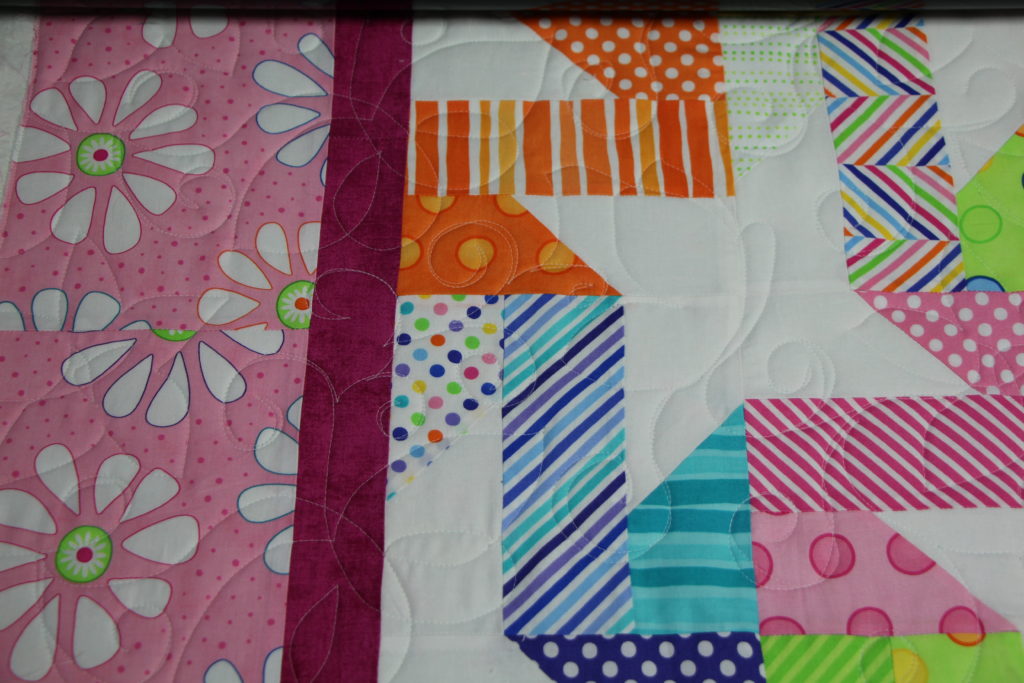 This quilt was made using a
 I asked Jenny to tell my readers a little bit about herself and why she enjoys quilting? . “I am married, have 4 children and 4 grand children (all girls). I work full time at
 This seemed easy enough as she wanted the logo fabric on one side and a matching purple fleece on the other. Many colleges and sports teams offer their logo fabric, in store and online. We were having much difficulty finding the UNI Panther fleece online and after a call to a local Joann’s fabric store I was told that UNI does not give out licensing for their logo and I will not find UNI fleece anywhere. She suggested a purple and gold plaid fleece with a solid backing. This was quite disheartening for Gene Anne but she was ok with looking for a plaid fleece to use.


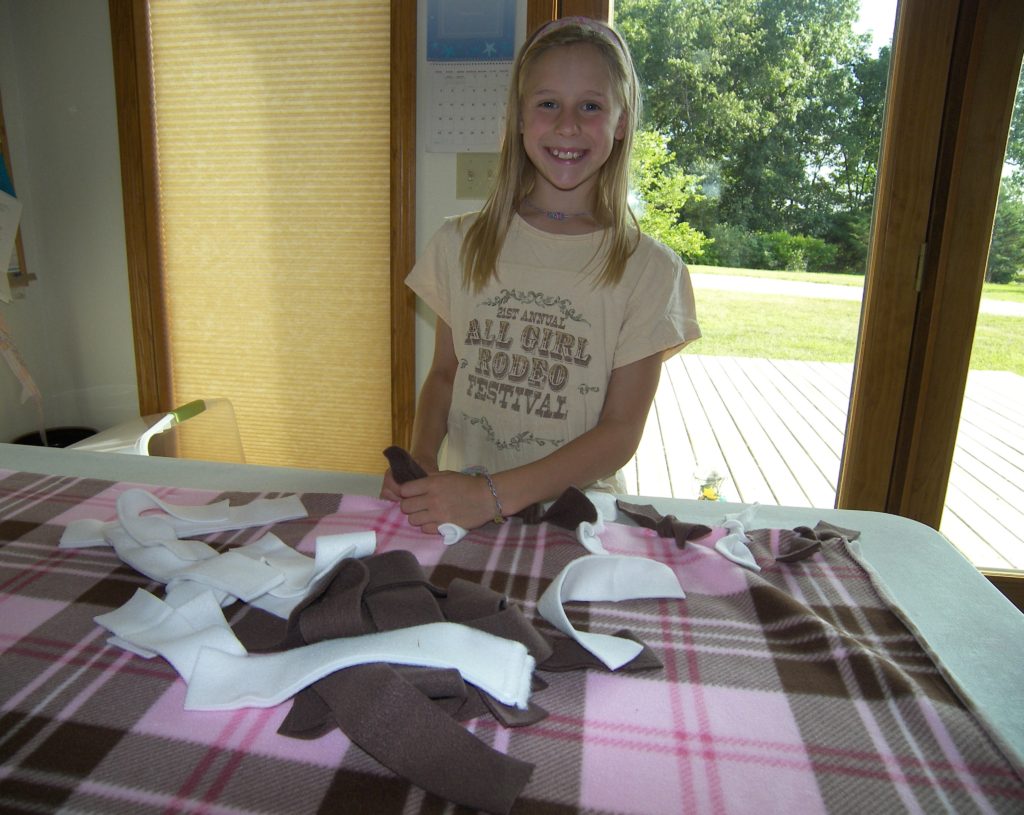
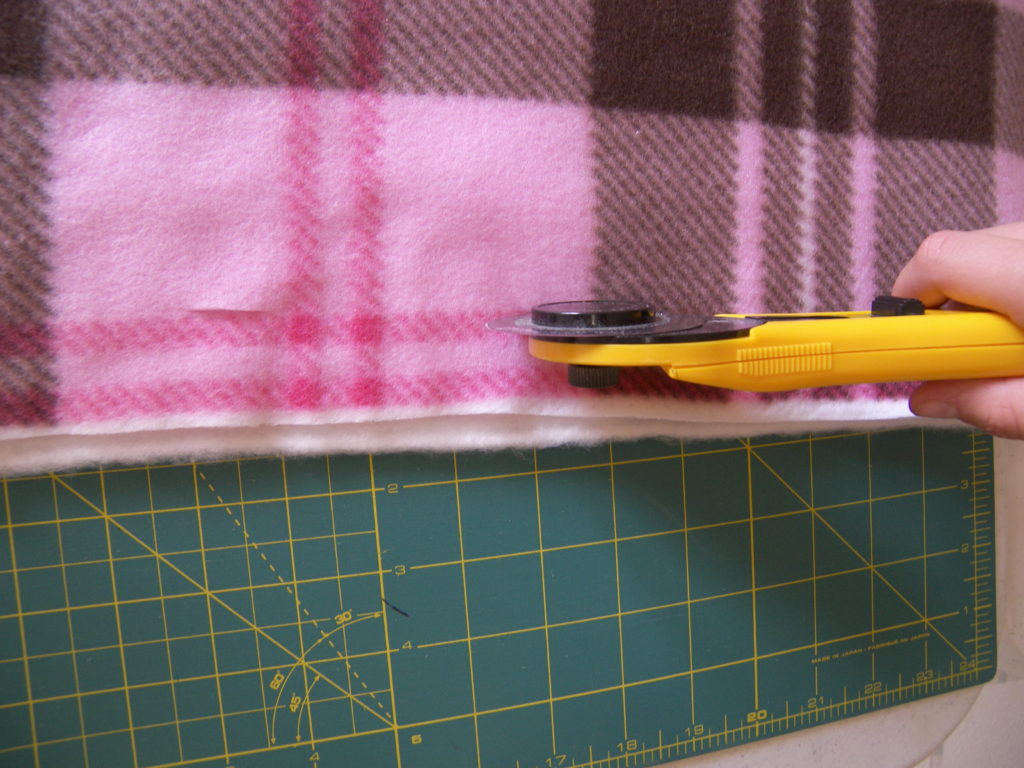
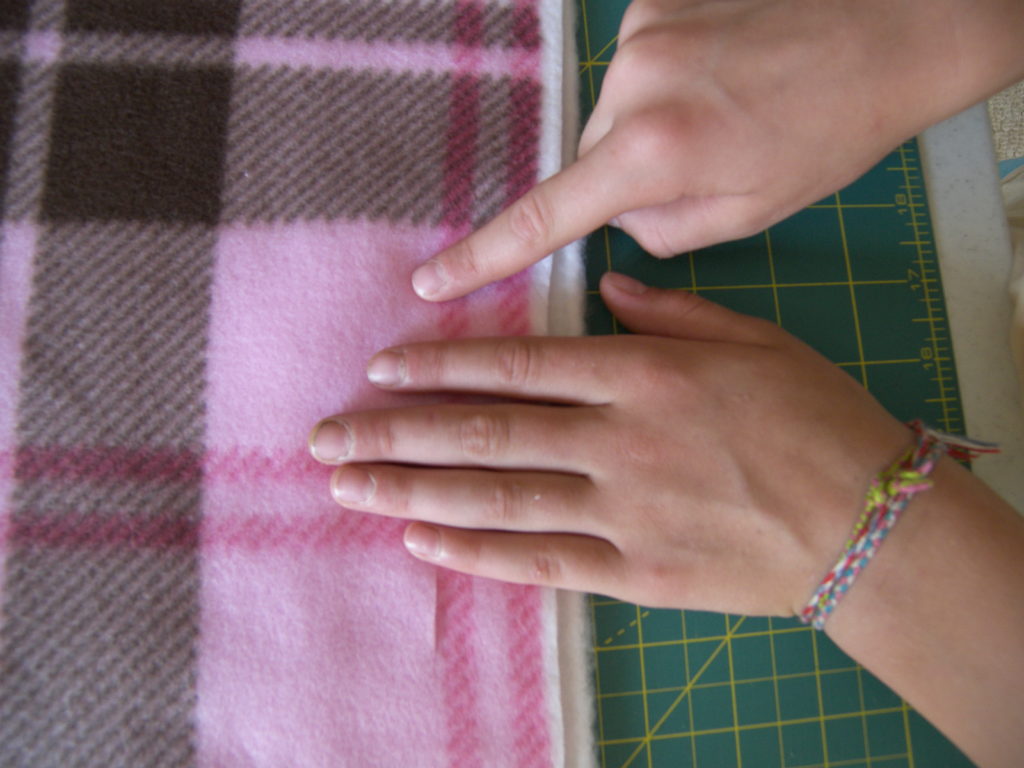 At age 9 we want the fabric projects to turn out well, but we need to be careful as to not overwhelm or frustrate them to the point of not returning to “sewing”! Fleece blankets are forgiving, so when you get close to the end of cutting the slits, you can adjust the space to make it come out fairly even.
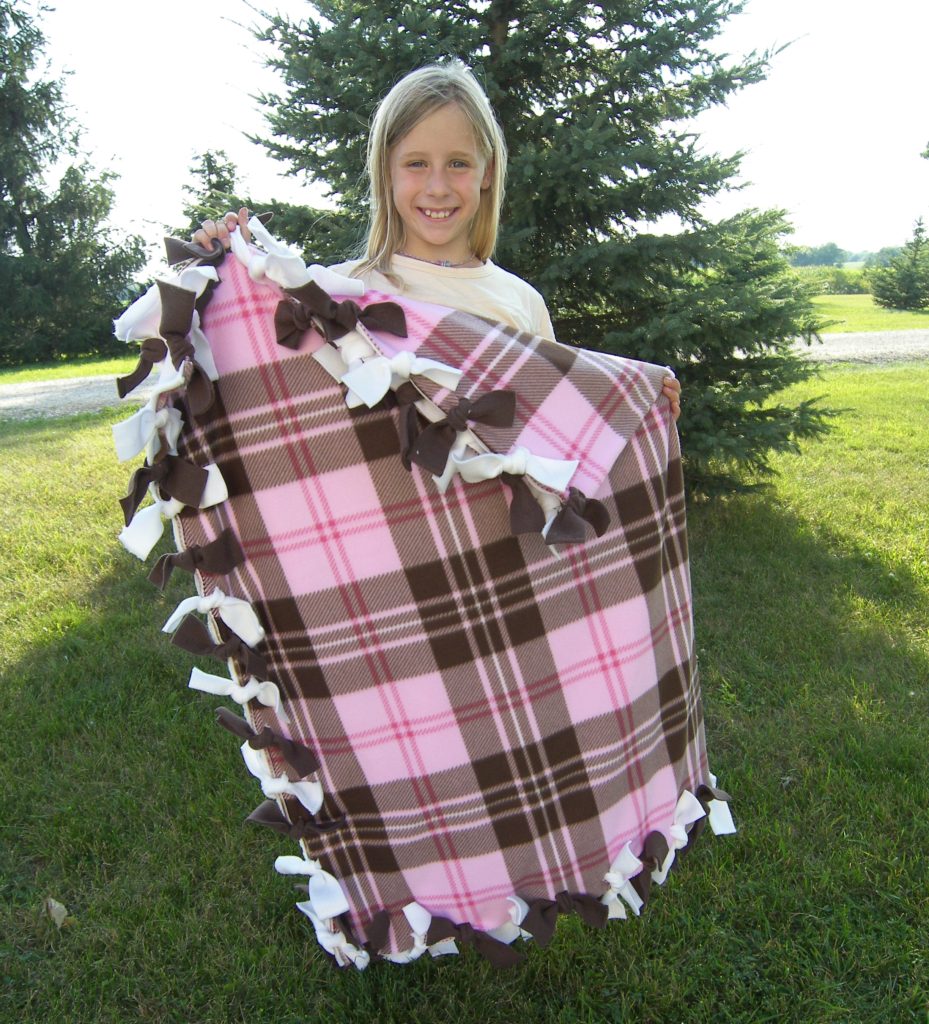 Here she is with the finished fleece blanket and if you can believe it, this same blanket is at the foot of her bed now as she has many quilts and we try to switch them from season to season.
 Last Saturday we were able to go over to the
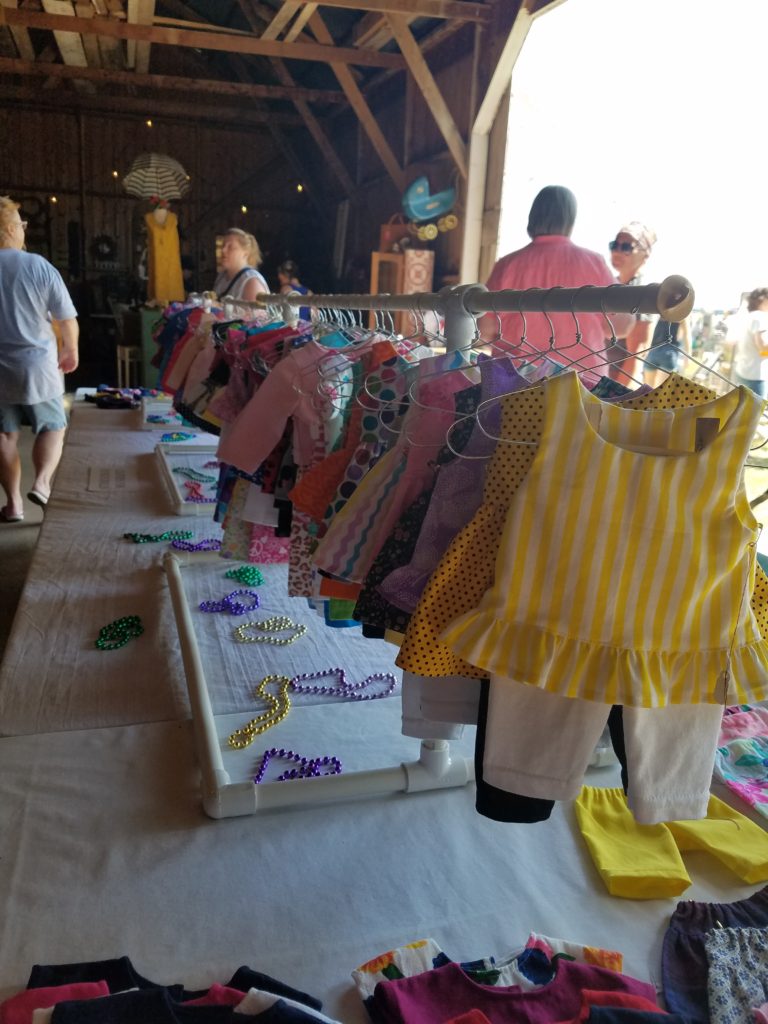
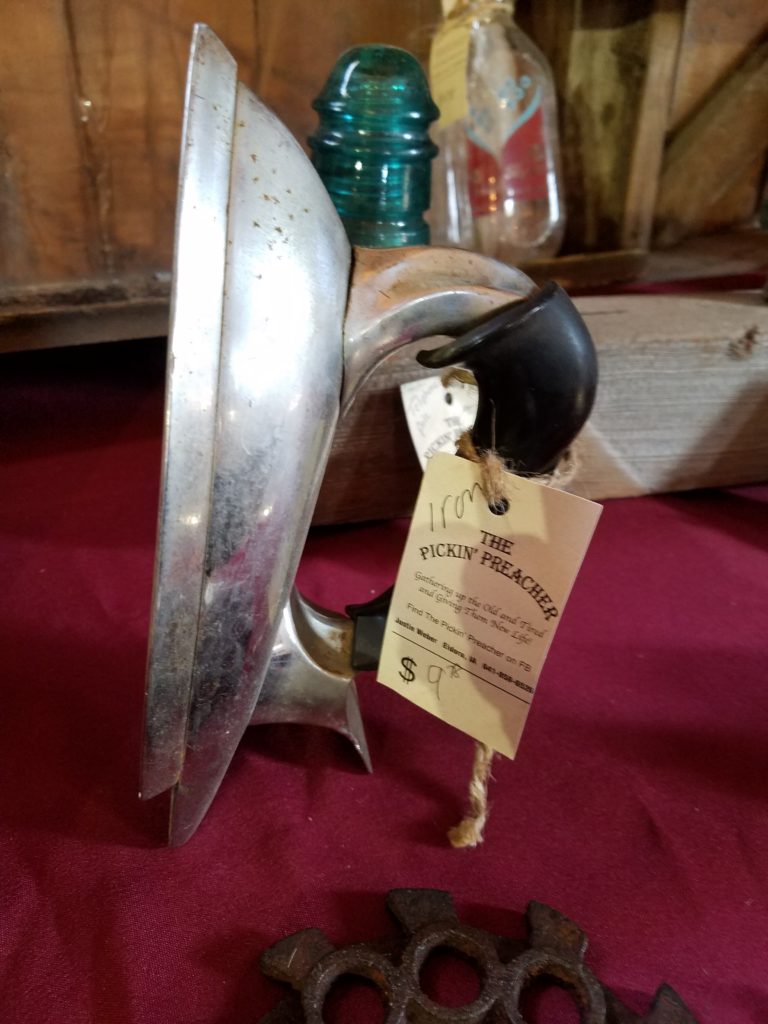
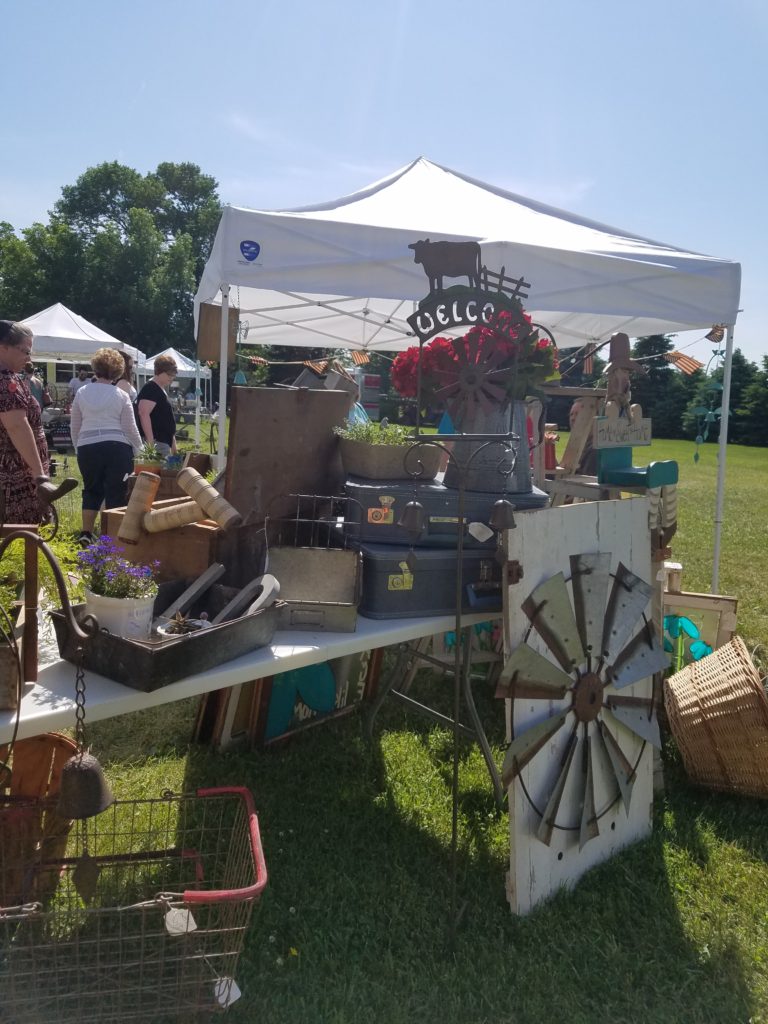
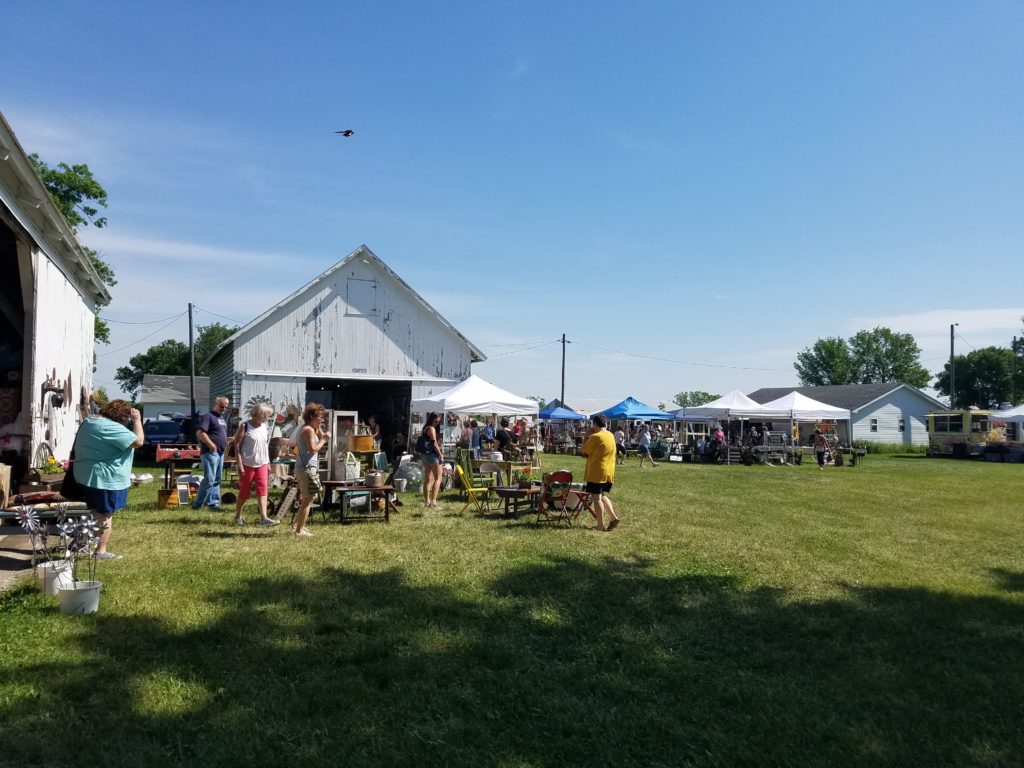
 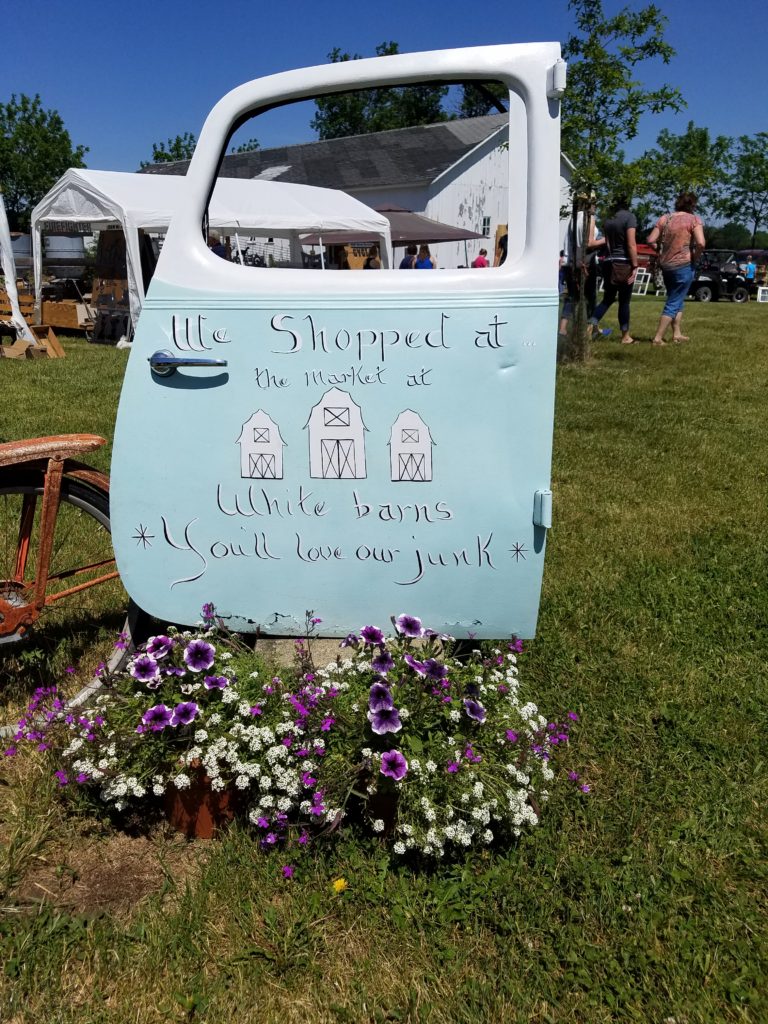 The family that sponsor this does a wonderful job at setting this up, it is clean, organized, rides from the parking field, food and drink available, music, restroom facilities, handicap accessible and just $3.00 admission. They have it in the spring and fall, and this year there were many more vendors. The vendors sell homemade items, refinished furniture, vintage items and collectibles. I will share a few with you.
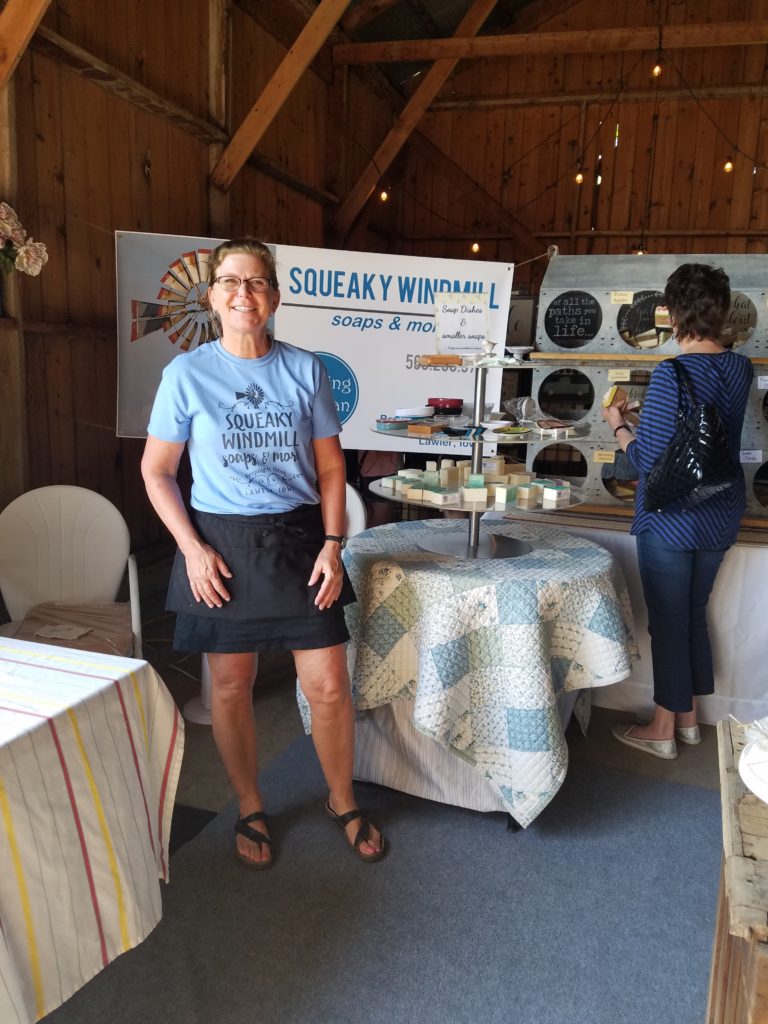 Why is she the main reason we go to this event, well it is because of the homemade soaps she makes. They are fragrant, have beautiful texture and color and the scent is true to name, such as “Herb Garden” and “Cotton Candy”! Bonnie is a wonderful down to earth, honest and hard working gal. Their farm was just across the gravel road from ours and she is a few years older than I, so in the spring she and her sisters would come over and help pick rock, they were “good help” my parents would say. As a young girl I clearly remember they got to wear bikini tops and my parents said I had to wear a shirt! Funny how that was a big deal to me at the time!
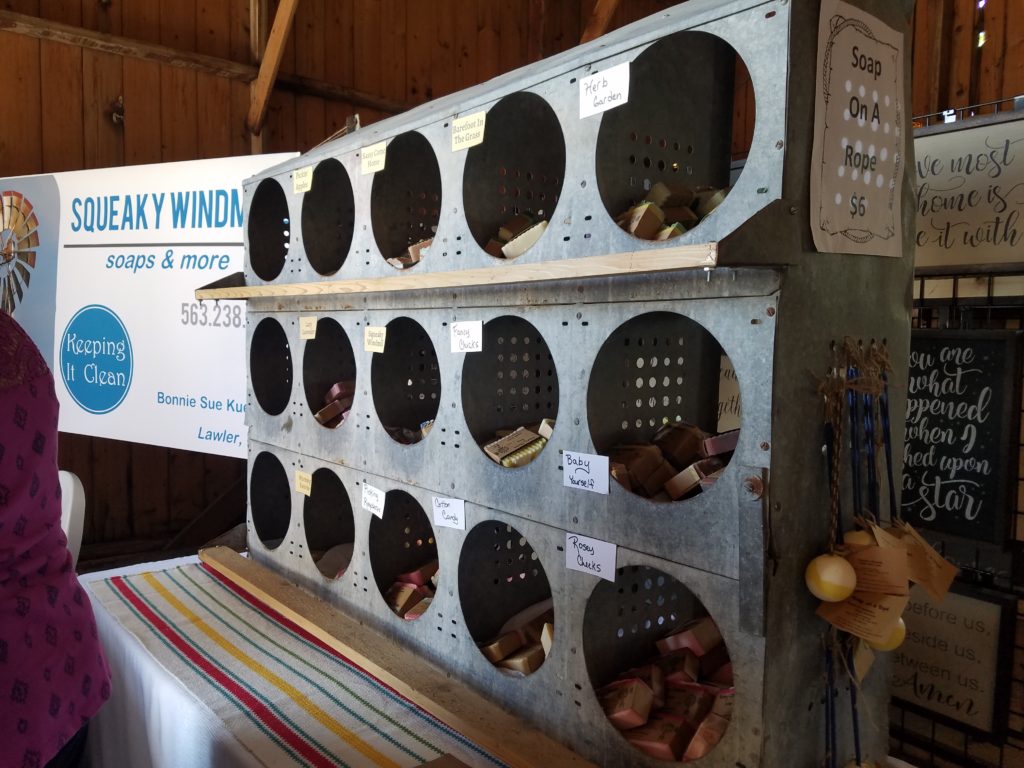 This is how Bonnie displays all of her soaps at events, (chicken nesting boxes) a super cute idea.
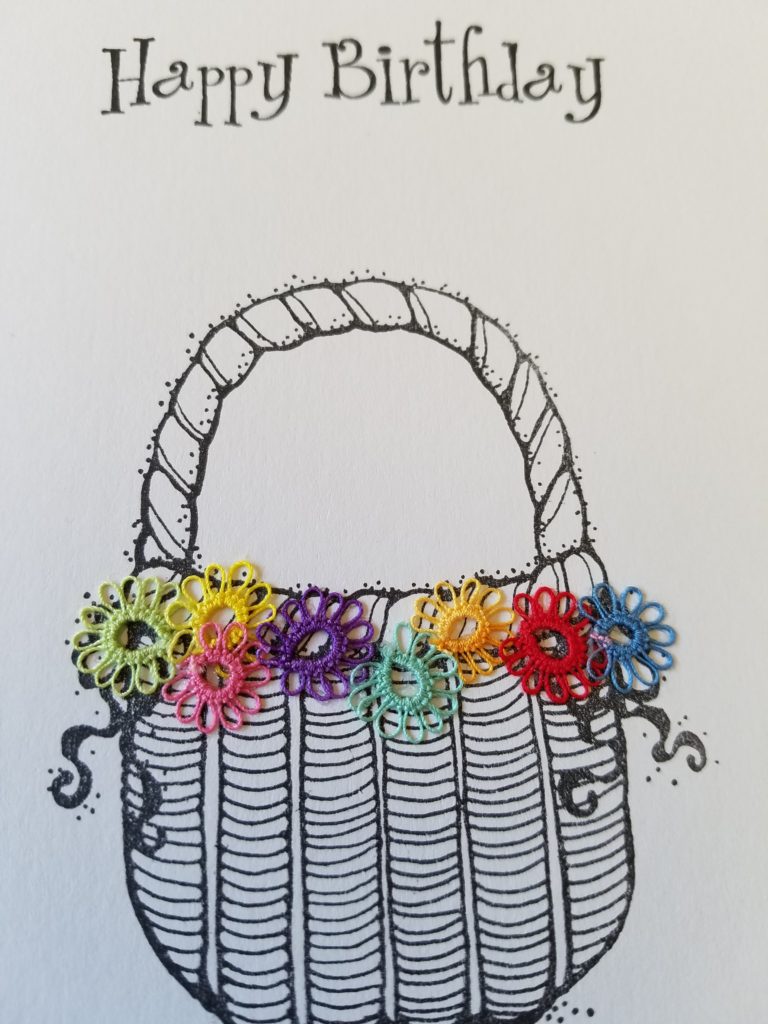
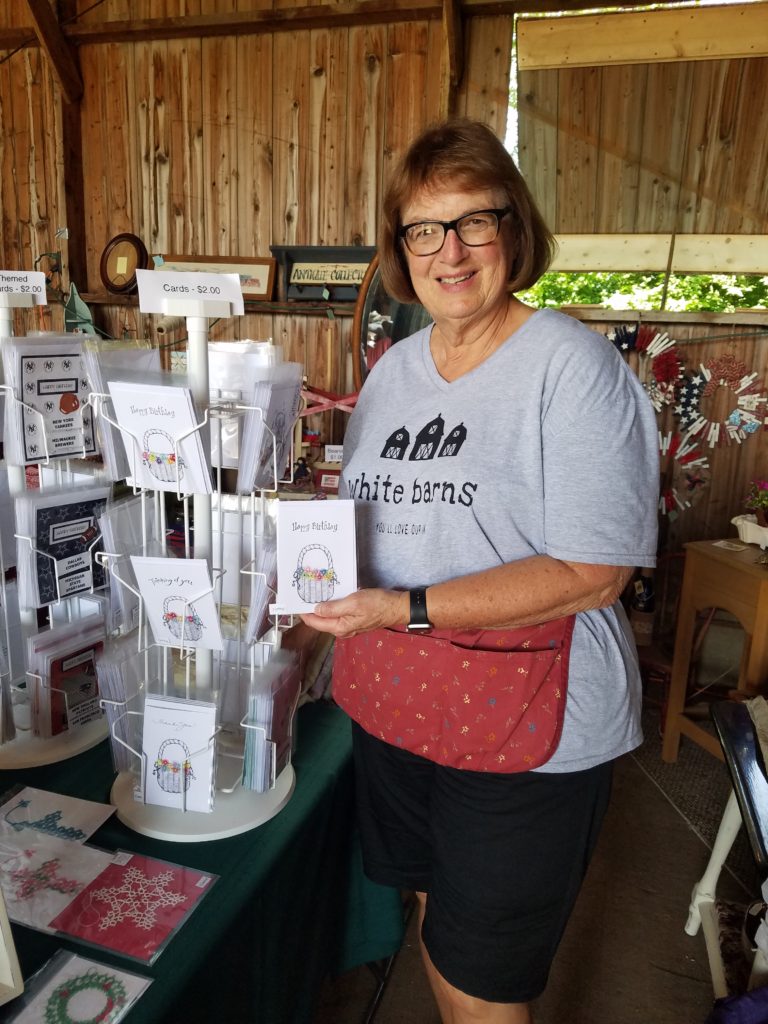 She has such a nice assortment of white cards with black sketched images and a little pop of color with the tatting. I feel it is a beautiful special card to send to those who you know will appreciate the handiwork. You can contact Marilyn at mheitman46@gmail.com. When I was just a teen I worked the night shift at the local nursing home and when we had down time a co-worker, Clara, who was in her 60’s would tat. I was so amazed at how she did that and I loved to watch her old dark wrinkled hands create something so beautiful and delicate, I will learn how to do tatting someday.
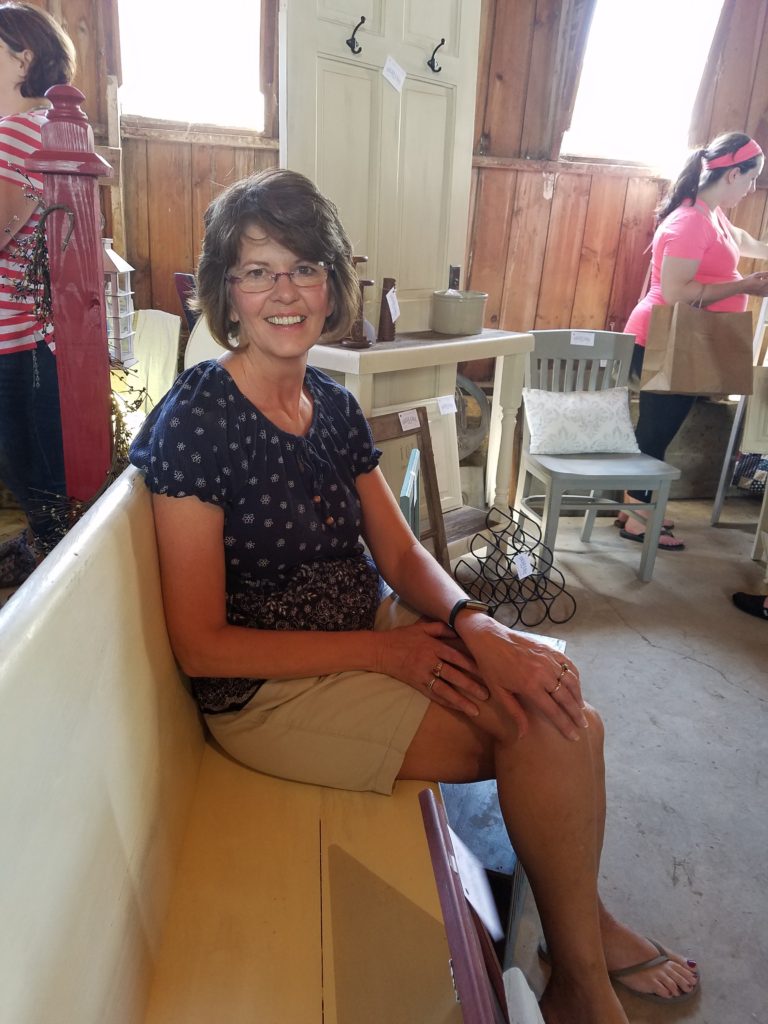
 Robin at Volga Lake Vintage is an old friend and she has been refinishing furniture the past few years, when I talk with her I can tell she truly enjoys doing this, to the point where she has done so many pieces she needs to sell them. Here she is on a beautiful church pew that she has painted and the piece behind her, she and her husband designed, a unique piece.
 I was on the lookout for textiles, old quilts and hankies, but it seems like a few of those vendors were not there as in the past, maybe next time. I did meet Lauren, a new vendor, she was a peach to visit with!
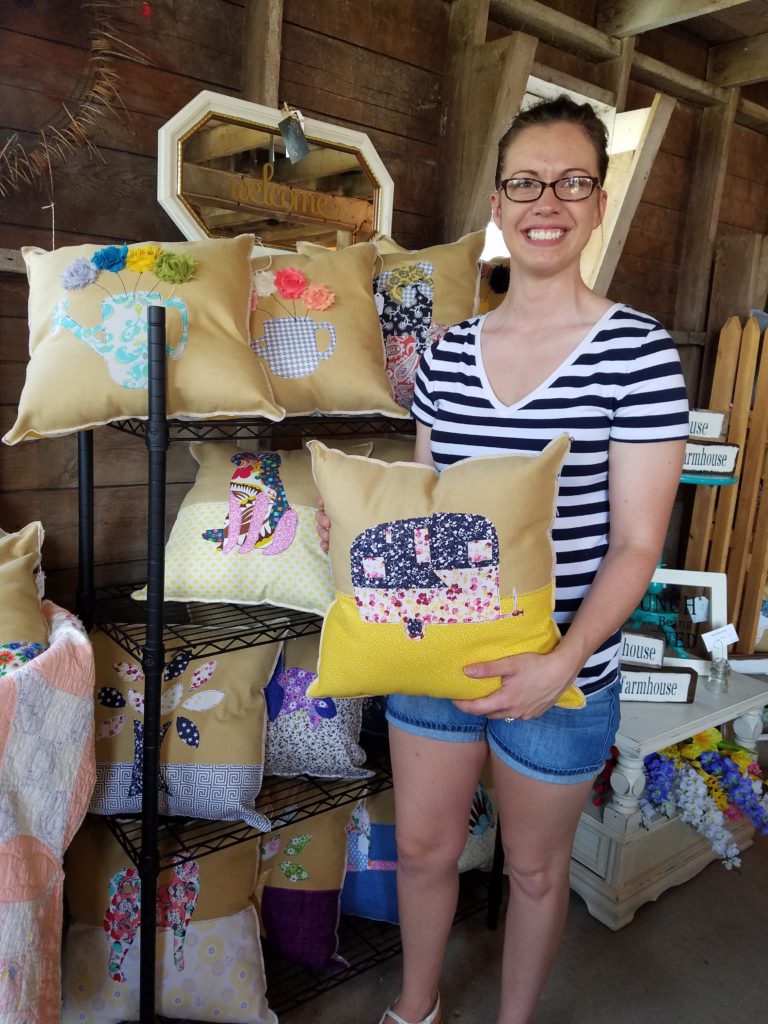 Look at what she makes, these cute vintage inspired pillows, she had lots of them. I enjoyed looking through them all, but what I really liked was her passion for design and creativity. I love meeting people who are excited about their craft and are willing to chat about it. I feel she has found her niche and wish her well with it. Please check out her page,